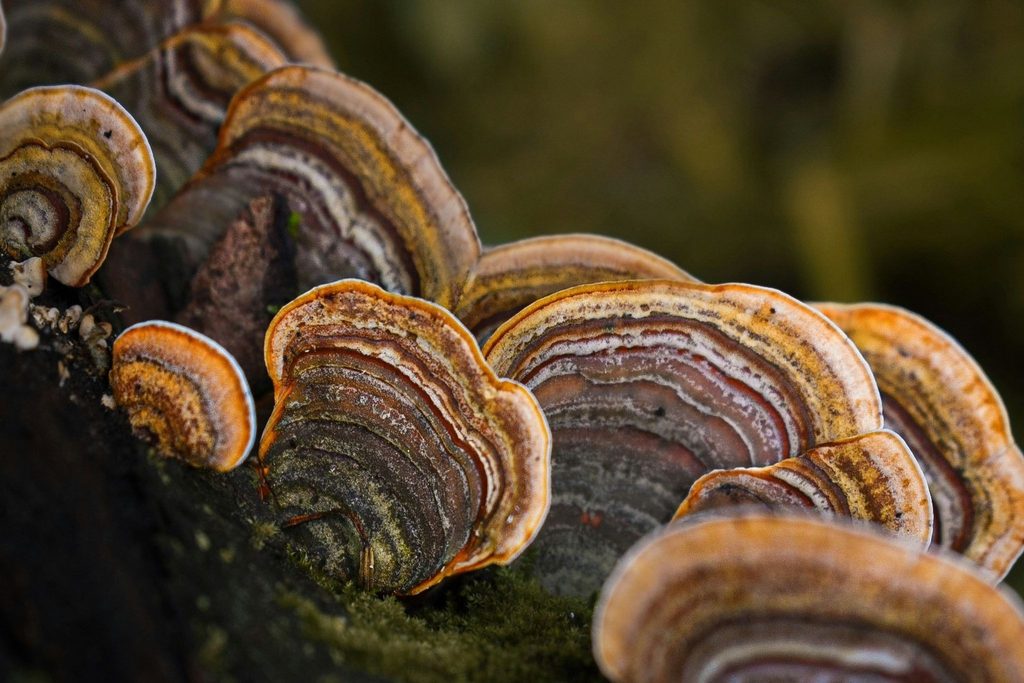
Photo by Tessa Hennis on Unsplash
Turkey Tail mushrooms (trametes veriscolor) get their name from their resemblance of a turkey’s tail feathers when spread out. The colorful fan-shaped mushrooms grow naturally on hardwood logs and stumps. If you are lucky, you can find some out in the wild in North America. But in case you can’t find them, we are here to teach you how to grow turkey tail mushrooms.
They are primarily used for medicinal purposes rather than in cuisine. You will often find turkey tail in tinctures, powders, teas, and coffee. Many decide to incorporate turkey tail mushrooms into their wellness routine for their immune system support, anti-inflammatory properties, and to aid gut health (source).
It is ideal to learn how to grow turkey tail mushrooms from liquid culture for a number of reasons: speed, consistency, and easy scalability. It is pretty easy to find turkey tail liquid cultures for sale online. Liquid cultures contain actively growing mycelium suspended in a nutrient-rich broth. This allows growers to get the process started much faster than using spores. Liquid cultures can also be used for multiple bags of grain so you can achieve consistent results. This is also why liquid cultures are ideal for scalability - you will already have everything you need in place to expand from a single grow bag to multiple.
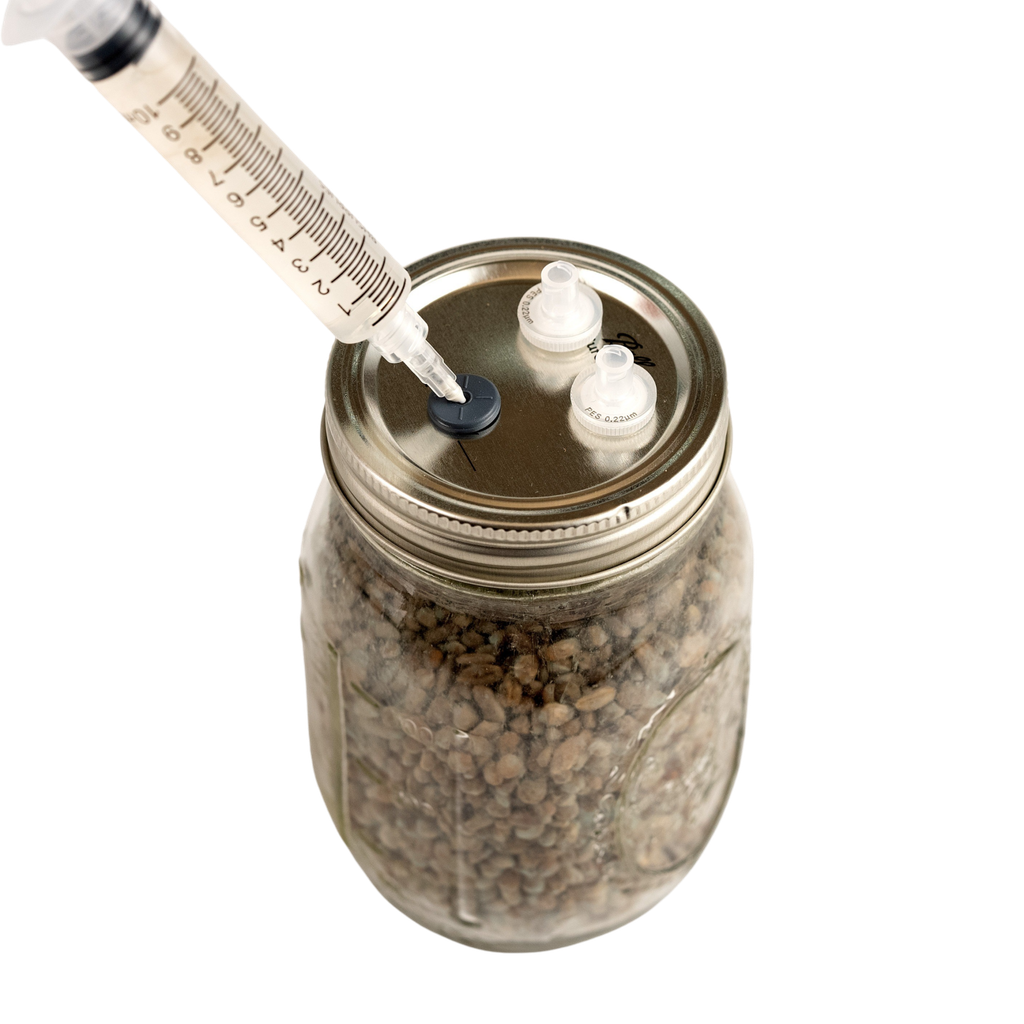
Turkey Tail Liquid Culture Injecting into Grains
Liquid cultures usually are 10cc. You will use about 3cc per 1lb grain bag. It is incredibly important to purchase your turkey tail liquid culture from a reputable supplier so you can have the best chance of avoiding contamination off the bat.
Typically, home growers use 1lb grain bags. Grains include rye, millet, oats, or other small grains. The grain bag will provide your liquid culture with the nutrients it needs to grow. This can be contained within a mushroom grow bag with a filter patch (see the section below Mushroom Grow Bags with Filter Patch).
Turkey Tail mushrooms grow best in hardwood sawdust substrates such as oak or maple. Bonus points if your substrate is supplemented with rice bran.
The grow bag will hold your grains in which you will inject the liquid culture. The filter patch (0.2 micron) is to allow for gas exchange while keeping contaminants out. You will need one bag with grains and another bag with substrate.
The pressure cooker is used to kill off any potential contamination in and around your grow bags. It needs to be big enough to hold the grow bags and be able to achieve 15 PSI.
A still air box is basically a clear plastic tote with arm holes cut into it. This acts as your work station and decreases the chances of airborne contaminants.
Contamination is every mushroom growers enemy and you need to do everything you can to avoid it. 70% isopropyl alcohol in a spray bottle will be your best friend. Additionally, you should have sterile gloves and an optional facemask. This is all very important especially for turkey tail mushrooms since they are slow-growing, hence contamination has more time to take over.
Growing mushrooms is highly dependent on proper levels of humidity and temperature. Using a hygrometer and a thermometer will help to ensure you have proper levels.
If you cannot maintain 80-90% humidity in the grow room, you will benefit from using an ultrasonic humidifier and a small dome or tent in which you can keep your grow bags.
Turkey Tail mushrooms do best between 75-80℉.
The sealed grow bags you will use for colonization pretty much maintain the humidity you need so external humidity control is less important during this phase.
Keep those grow bags in a dark place for this phase. You do not need any light (yet).
The filter patches on the grow bags provide all the air exchange you need during this phase. There is no need for anything special beyond the grow bag.
You want a slightly lower temperature for fruiting compared to colonization. We suggest you aim for about 60-70℉.
The fruiting phase is where external (outside of the grow bag) humidity becomes quite important. You want to aim for 80-90% relative humidity (RH). If your RH is too low, the fruiting may stall. If the RH is too high you are just begging for contamination to take hold.
Indirect sunlight for about 12 hours a day is recommended for the fruiting phase. The light acts as the cue to tell the mycelium to begin fruiting.
Moving air is the final chain in the fruiting link. This does not mean hurricane levels of wind. You can use a small fan on low inside of your grow tent or even just self-fan the grow bag a few times a day (about 4-6 times).
Liquid Culture to Colonized Grain: 3-4 weeks
Grain to Colonized Saw Dust Substrate: 2-3 weeks
Pinning to Fruiting: Pinning happens within 10 days and full fruiting happens about a week after pinning
Liquid Culture to Harvest: 8-12 weeks
Here we are going to explain how to use liquid cultures to learn how to grow turkey tail mushrooms.
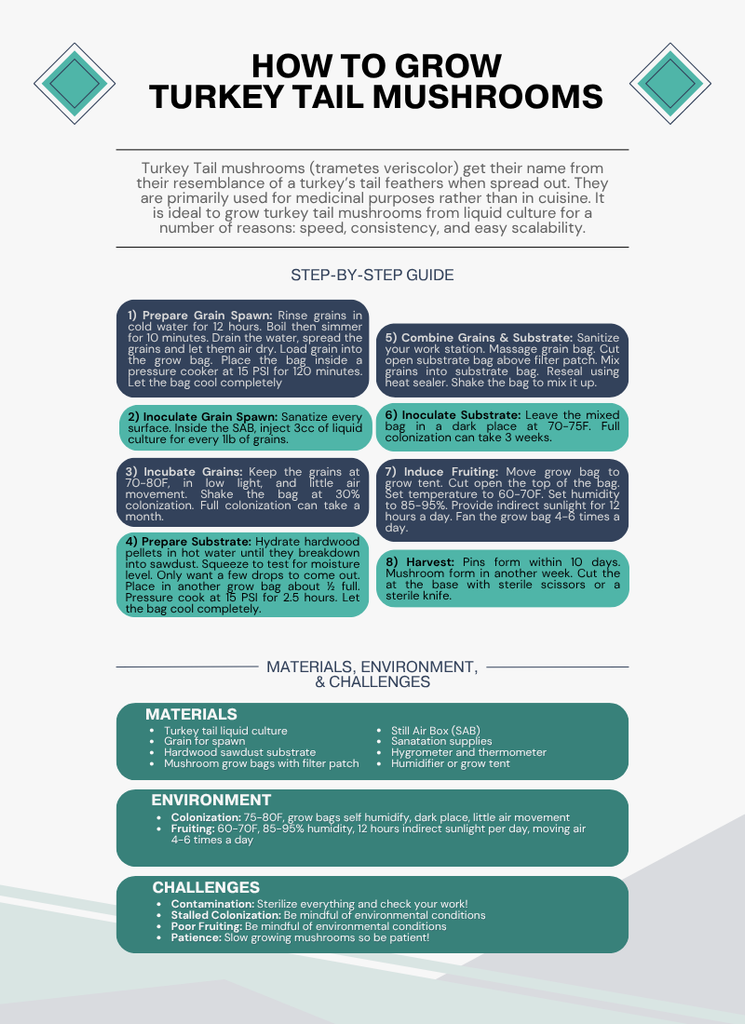
You can skip this step if you bought mushroom grow bags with grains already in them.
If you bought grains and grow bags separately, you will need to prepare the grains, load them into the grow bag, then sterilize the bag before you begin.
Rinse the rye or millet grains then soak in cold water for about 12 hours. After soaking, bring the grains to a boil and then let simmer for 10 minutes. Next, drain the water and spread the grains thin to let them cool off and air-dry until the surface is not moist.
Now, load the grains into your grow bag. Finally, place the grow bag inside a pressure cooker and sterilize at 15 PSI for about 120 minutes. Let the grow bag cool completely before moving on.
Set up your still air box, put on some gloves, and sanitize every surface with isopropyl alcohol. This includes the injection ports and outside of the grow bag.
Shake the liquid culture to evenly distribute the mycelium inside. Attach a sterile need to the liquid culture then inject about 3cc of liquid culture power 1lb of grains using the injection port on the grow bag.
If you are inoculating multiple bags, flame-sterilize the needle in between each grow bag.
This step involves maintaining proper levels of humidity, temperature, light exposure, and air. You want 70-80℉, low light, and no air exchange during this phase. Let the grow bag sit in these conditions until you see about 30% colonization, then shake and massage the bag to redistribute the mycelium. Full colonization can take about a month.
Hydrate your oak or maple hardwood pellets in hot water until they break down and become sawdust. Note: it may already come as sawdust and that is fine. If your substrate does not already have rice bran, you can supplement it at 20% by weight.
Squeeze a handful of the hydrated substrate. If only a few drops of water come out, then you are ready. If nothing comes out, hydrate some more. If a lot of water comes out, it needs to dry out a bit.
Place the sawdust substrate into a mushroom grow bag until it is about ½ full then seal the bag. Place the bag into the pressure cooker and sterilize at 15 PSI for about 2.5 hours. Let it cool completely before moving on.
Begin this step by sanitizing your work station. You will be exposing the sealed grow bags to the environment so this is a pretty risky step when it comes to contamination.
Massage the grain bag to break it up. Then cut open the top of the substrate bag above the filter patch. Dump the grains into the substrate bag then reseal the bag using a heat sealer. Shake the now-mixed bag to evenly distribute the grains through the sawdust substrate.
Leave the substrate grow bag in a dark place at about 70-75℉. Full colonization will happen in about 3 weeks. Patience is key!
Move your grow bags to a place you can control external humidity. This could be a humidity dome or a grow tent. Cut the top of the bags so the mushrooms have a place to grow. Set the temperature to about 60-70℉ and the humidity to about 85-95% RH. You can use an ultrasonic humidifier to help maintain the humidity level. The grow bag should be provided indirect sunlight for about 12 hours a day so the mushrooms will know it is time to fruit. Use a small fan or just self-fan the grow bag about 4-6 times a day.
Pins will form within 10 days. Another week and you should have ready-to-harvest mushrooms! Cut the mushrooms at the base with sterile scissors or a sterile knife.
Contamination can happen for any number of reasons including: not sterilizing long enough in the pressure cooker, dirty workspaces, using warm grains, etc. Do your best to sterilize everything and be patient to allow grains to cool before using them. For beginners, we suggest using pre-sterilized grain and substrate bags.
This can happen when your grains or substrate is either too wet or too dry. It can also happen if your environment is too cold. Finally, it can happen if you have a bad liquid culture. To avoid stalling, be mindful of humidity and temperature levels.
The fruiting phase takes place when temperature, humidity, light, and air flow are just right. If your mushrooms are not fruiting, chances are one of those conditions has not been met. We highly suggest using a hygrometer and thermometer to monitor levels.
Turkey Tail mushrooms are among some of the slowest growers in the fungi kingdom. If you are not seeing results, patience and time might eventually solve that.