So you want to learn how to grow shiitake mushrooms? Well, you’ve come to the right place! Shiitake mushrooms (Lentinula edodes) are some of the most popular and delicious gourmet mushrooms you can grow right at home. They are known for their incredible umami flavor that can elevate many dishes.
On top of their incredible flavor, shiitake mushrooms also have been shown to have a number of medicinal properties such as immune support and anti-cancer properties (source), cardiovascular health and cholesterol-lowering effects (source), and antioxidant effects (source). So, you can eat a delicious meal and add to your wellness regiment with the same mushroom!
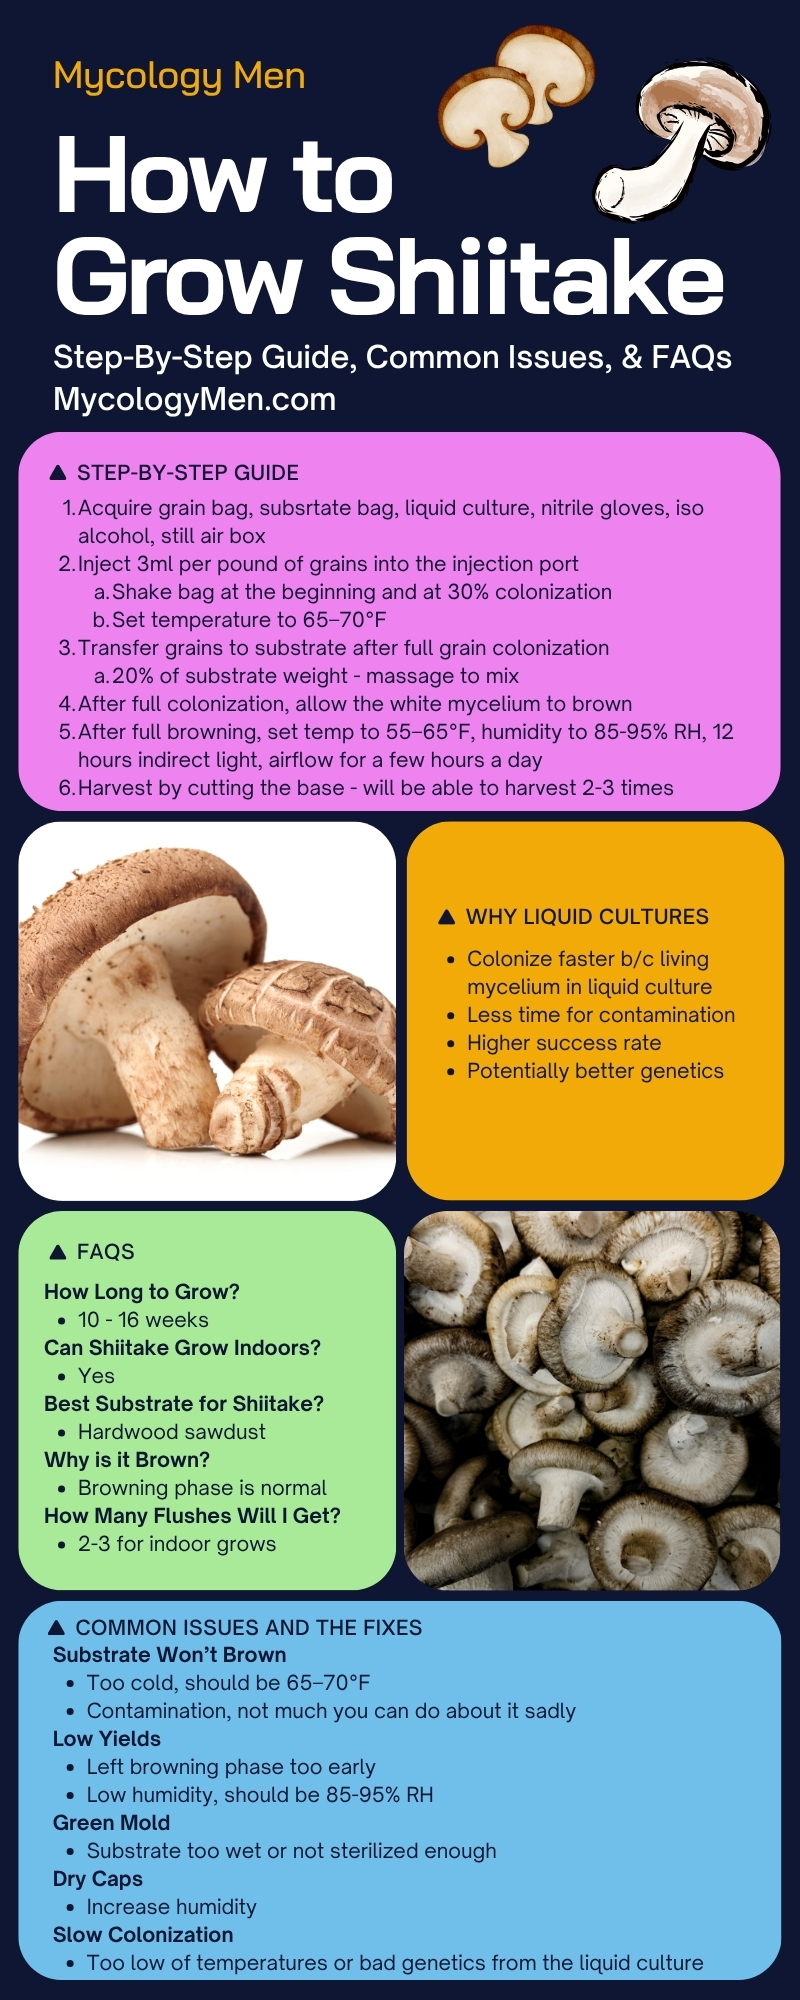
Some people struggle when growing shiitake indoors because they have different requirements than the popular and easy-to-grow oyster mushrooms. Shiitake mushrooms colonize slower than oyster mushrooms, must grow through an additional ‘browning’ phase, and have different fruiting triggers than oyster and other mushrooms. Not to worry! We are going to walk through exactly how to grow shiitake mushrooms, address any problems you may face, and answer many questions you may have. First things first, make sure to find a clean, vigorous shiitake liquid culture to make the process far easier. Now, let’s see exactly how to grow shiitake mushrooms.
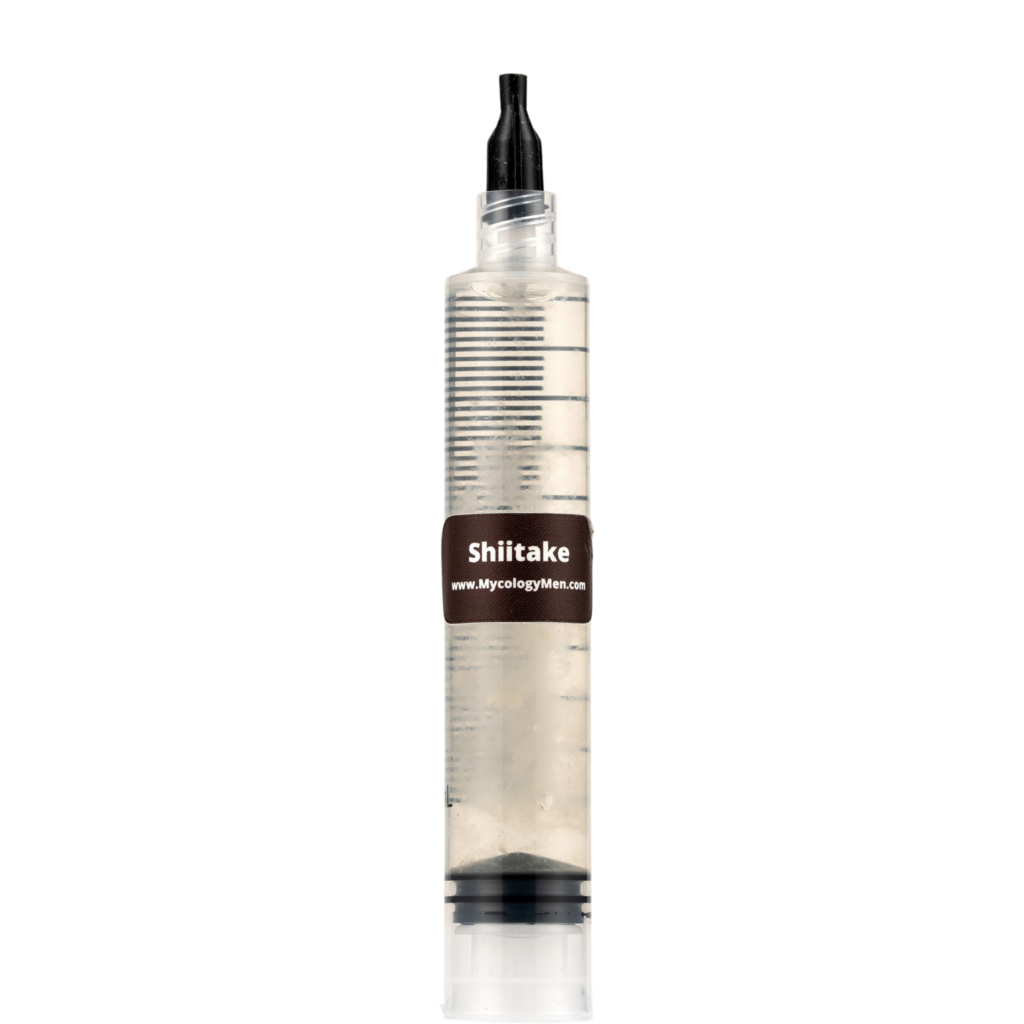
While it may be easy to find shiitake mushroom liquid cultures for sale online, not all liquid cultures can live up to the quality you should be aiming for. Each liquid culture comes from a specific line of shiitake mushrooms that was (hopefully) carefully chosen by the supplier. Ideally, the line of shiitake that was used to make the liquid cultures was chosen for fast colonization and high yield properties. You can sift through the options of shiitake mushroom liquid cultures for sale online to find a company that seems trustworthy to you.
Shiitake mushrooms are easier to grow from liquid culture than from spores. They will colonize faster because liquid cultures contain already living mycelium. This gives you a head start. Faster colonization means less time for contamination to take hold. This is a major benefit of using liquid cultures over spores. Faster colonization and less chance for contamination leads to higher success rates for all growers.
You can easily purchase ready-to-go grain grow bags from numerous suppliers online, but if you want to try your hand at preparing and sterilizing your own grain bags, you certainly can. Some even say this is preferred so you can make exactly what your grow needs rather than rely on prefabricated products.
Check out our article which details how to prepare and sterilize your own grain grow bags:
How to Prepare and Sterilize Grains
Work inside a still air box if you have one. If not, thoroughly clean your workspace with isopropyl alcohol. Clean the inside of your still air box with alcohol while wearing nitrile gloves. Keep your nitrile gloves on for this whole process. It can also help to wipe them down with alcohol wipes.
Now, shake your liquid culture syringe to evenly distribute the mycelium inside. Take the needle out of its packaging and attach it to the syringe. Plunge the needle into the injection port of the grain grow bag. Inject 3mL of liquid culture per pound of grains (i.e. 3 pounds of grain needs 9mL of liquid culture). Remove the needle from the injection port, unscrew it from the syringe, and carefully dispose of it.
Finally, give the recently injected grain bag a really good shake. The goal is to evenly distribute the liquid culture through the grains. No need to be timid here, just make sure not to rip the bag at all.
Place the grain bag in a dark room with a temperature of about 65–70°F. Grains will begin to colonize within a couple weeks. Once the grains are about 30% colonized, give the bag another good shake to spread out the mycelium. Full colonization can take about a month. You will know it is fully colonized when the grains are covered in a fluffy white mycelium network.
Like the grain bags, you can easily purchase ready-to-go shiitake substrate grow bags. But, if you choose to prepare and sterilize your own substrate, you can follow the steps outlined in our article: How to Prepare and Sterilize Substrate
Set up your clean workspace just like when you inoculated the grain bag. Wear nitrile gloves and clean every surface with alcohol. If you have a still air box, work inside it.
Carefully open the top of the substrate bag, being careful not to touch the inside of the bag (higher contamination risk). Mix grains into the substrate at a rate of 20% substrate weight (i.e. 10 pounds of substrate gets 2 pounds of colonized grains). Carefully massage the grain/substrate mixture to homogenize it as best as you can. Finally, fold the open top of the substrate bag down and seal it with a heat sealer. If you do not have a heat sealer, a clamp can work, just make sure it is sealed really well.
Let the substrate bag sit in a dark room with a temperature of about 65–70°F. Full colonization of the substrate can take 30-75 days depending on a number of factors. Patience is key! You should see steady progress.
Once the substrate has fully colonized, the white fluffy mycelium will begin to mature and turn brown. This is a good thing and should not be rushed. The browning phase can take anywhere from 2-6 weeks. If you do not let the mycelium fully brown, yields will be low once you enter the fruiting stage. Again, patience is key.
There are 4 main components to trigger shiitake fruiting conditions: temperature, humidity, air flow, and light exposure. If you have a grow tent or fruiting chamber, it is time to move your substrate bag into it.
Set the temperature to about 55–65°F and the relative humidity to 85-95% RH. You can use a humidifier to help keep your room humid. The substrate bag should also be exposed to indirect sunlight for about 12 hours a day. Finally, the fruiting stage requires air flow. This can be accomplished with a small desk fan that oscillates for a few hours every day.
You will begin to see the caps of the mushrooms begin to form and open. It is really exciting to see all your hard work come to fruition. Once the caps are about 80% open, you can cut them at the base to harvest them! Yay!
But wait, do not get rid of that substrate bag just yet. After about another 2-4 weeks you can expect another harvest (flush). Heck, it might even happen a 3rd time!
This might be the most common problem people encounter when growing shiitake mushrooms. It can happen for a number of reasons, but most commonly is contamination or that the temperature is too cold. Double check that your substrate bag is in a room at about 65–70°F. If your bag is contaminated, there is really not much you can do to save it. Your best bet is to take extra care to avoid contamination leading up to this phase. Sterilize EVERYTHING with isopropyl alcohol, wear nitrile gloves, work inside a still air box, and sterilize everything again!
The most common reason for low yield is that the browning phase was not allowed enough time to complete before entering the fruiting stage. Be patient with the browning phase.
Low yield can also happen if the humidity in the fruiting chamber is too low. You should keep it at 85-95% RH. If your humidity is too low, try using a humidifier to boost it up.
If after all that, you still have low yields, you might just be working with a low yielding strain which starts with the liquid culture. It could be best to try a new liquid culture.
This one is a real bummer to come across since it can ruin a grow. If you see green mold in your substrate, chances are it was too wet or not sterilized enough to begin with. There isn’t really a save for this unfortunately.
Dry caps are a relatively easy fix. Just increase the humidity in the fruiting chamber to the required 85-95% RH.
Slow colonization occurs due to low temperature most of the time. Double check that your room is in the proper temperature range. If that does not fix it, you may just have a strain with slow colonization properties.
The exact amount of time to grow shiitake mushrooms really depends on how fast the particular line of shiitake you have in your liquid culture colonizes. Many liquid culture suppliers choose specific lines of shiitake mushrooms with fast colonization properties, but some may outperform others.
You should expect the full growing process from grain inoculation to harvest to take between 10 and 16 weeks.
Shiitake mushrooms grow great indoors with grains and sawdust substrate. The main tricky part is the browning phase which is absolutely crucial to good yields. Give the article above a read to see exactly how to grow shiitake mushrooms indoors.
Hardwood sawdust is the best substrate for shiitake mushrooms.
This is called the browning phase and it is not only normal, but necessary. Wait until all of the fluffy white mycelium has browned before you trigger fruiting.
This depends on a number of factors, but you can expect 2-4 flushes when growing outdoors on logs and 2-3 flushes, with quicker resets in between, when growing indoors.