This guide will cover all you need to know about how to grow oyster mushrooms at home in the easiest way. We will cover everything from grains to substrate to harvest. You can also find specific parameters and links to guides for blue oyster, king oyster, and pink oyster mushrooms. Are you ready? Good! Let’s learn how to grow oyster mushrooms.
Oyster mushrooms are popular because they are some of the easiest mushrooms to grow at home. They colonize quickly and are pretty resistant to contamination. Contamination is the biggest hurdle to growing mushrooms at home, so oyster mushrooms are a great species for people to begin their mushroom-growing journey. On top of that, oyster mushrooms are generally high yielding which makes the process quite satisfying when it comes harvest time.
Oyster mushrooms are highly sought after for gourmet purposes. They are quick to cook (3-5 minutes), and have a wide range of uses. Blue oyster mushrooms have a slightly meaty texture which makes them great for meat substitutes. King oyster mushrooms are rich with umami flavor that can enhance a variety of dishes like stir-fry, pasta, and tacos. Pink oyster mushrooms have a seafood flavor that is highly sought after. Oyster mushrooms are great for roasting or grilling as well as in sauces because they absorb flavor so well.
The blue oyster mushroom health benefits are another reason people gravitate toward this type of mushroom. They are generally low in calories and rich in antioxidants. They have also been shown to have immune-boosting and heart-health properties.
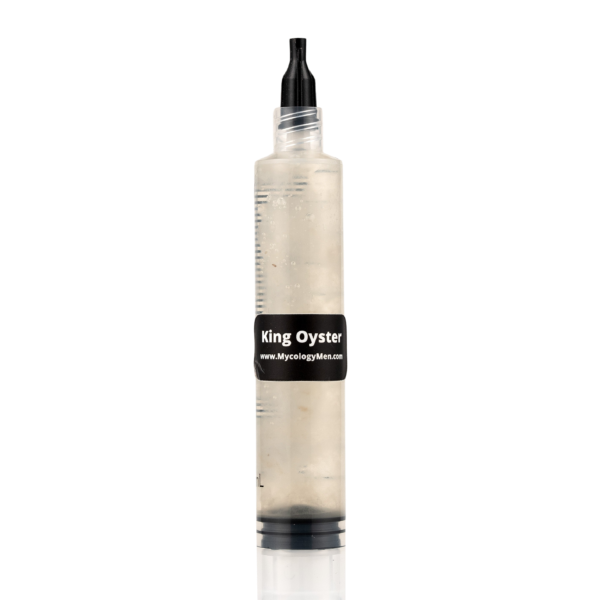
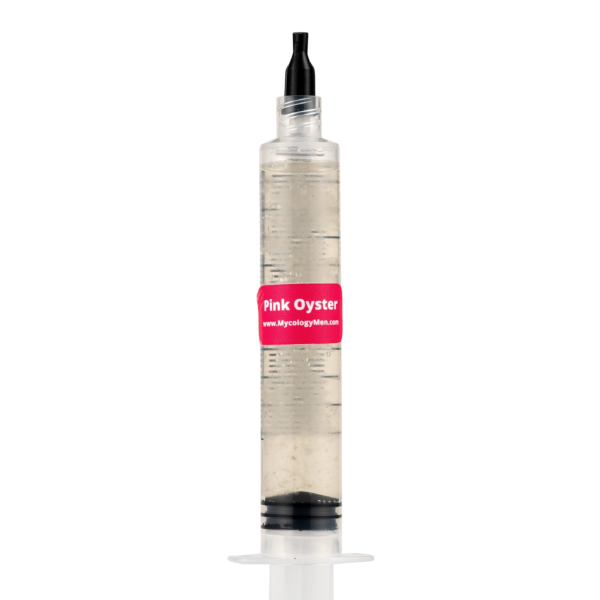
You should always be wearing gloves and work inside the still air box when you can. Clean every surface and the palms of your gloves hands with isopropyl alcohol often.
If you purchased a sterilized grain spawn mushroom grow bag, you can skip the steps in this section and move to the end of this section when we describe how to inoculate your grains.
First things first, put on some nitrile gloves to help avoid contamination. The goal here is to optimize the grains so they provide necessary nutrients for mycelium growth. The grains themselves need to be hydrated and boiled. Aim for about 60% moisture content. Larger bags can benefit from less moisture.
Soak the grains in a pot of water overnight. The next day, bring the pot to a boil and simmer for 15 minutes. You will be able to tell the grains are sufficiently hydrated when the grain kernels are still intact (not mushy). You can squeeze a kernel between your fingers to test. Once they are ready, strain the grains with a colander then lay them flat on a clean surface to cool. Do not proceed until the grains have cooled to room temperature or you risk contamination.
With your grains properly hydrated and cooled, put some gloves back on then you can load the grains into your mushroom grow bags. Make sure to seal the top of the bag closed with your heat sealer.
Pop the filled mushroom grow bag into your pressure cooker and sterilize it at 15 PSI for 2 hours. Follow pressure cooker instructions for proper operation.
Remove the grow bag from the pressure cooker and let it cool to room temperature before moving on. If you work with hot grains you are just begging for contamination.
(SKIP TO HERE IF YOU HAVE PURCHASED READY-TO-USE GRAINS)
With your gloves on, open the needle package and secure it to the end of your liquid culture syringe. Plunge the needle into the injection port of the grow bag and inject about 3mL of liquid culture per ground of grains (i.e. 3mL for a 1 pound grain bag). Remove and dispose of the needle from your liquid culture syringe. The syringe can be stored in the fridge for future use.
Give the grain bag a good shake to distribute the mycelium from the liquid culture throughout the grains. Now you can leave your grain bag to colonize. When it reaches 30% colonization coverage, give it another good shake to spread out the mycelium again. Here are the conditions necessary for specific oyster mushroom varieties:
Blue Oyster: 65–75°F
King Oyster: 70–85°F
Pink Oyster: 65–75°F
The bags can be stored in a dark room with ambient humidity (60%).
Choose one substrate and follow the steps to prepare it. Substrate preparation is essential when learning how to grow oyster mushrooms.
You can buy a pre-mixed master’s mix or you can mix it yourself. It should be 50/50 soy hulls and hardwood sawdust. Soak the mix in water until you can squeeze a handful and it stays clumped while only a few drops of water come out. It is too dry if no water comes out and too wet if a lot of water comes out.
Place the mix into your grow bag, but fill it only about ¾ full because you need room to add the colonized grains later. Seal the bag with the heat sealer then pop it into your pressure cooker for sterilization. Sterilize at 15 PSI for about 3 hours.
Remove it from the pressure cooker and let it cool to room temperature before moving on.
Hydrate the sawdust until you only see a few drops come out when you squeeze a handful. Place the sawdust into the grow bags until it is about ¾ full. Seal the top of the bag with your heat sealer. Sterilize in your pressure cooker at 15 PSI for about 3 hours. Now, you can take the bag out of the pressure cooker and let it cool to room temperature before you move to the next steps.
Chop the straw into 2 inch segments. Heat a large pot of water to about 165°F and then soak the straw in there for an hour. Remove the straw from the water pot and let it drain until you can squeeze a handful and only a couple drops of water come out. The straw should come to room temperature before you load it into the grow bag (about ¾ full). If you are adding colonized grains right away, you do not need to seal the bag closed before that. If you are waiting to add the grains, seal the substrate bag closed to avoid contamination.
Put some gloves on! Carefully open the top of the substrate and grain bags. Mix the colonized grains into the substrate bag at about 20% the weight of the substrate (i.e. a 5 pound substrate bag should be 1 pound of grains). Reseal the top of the substrate bag. You can use the grains for multiple substrate bags if you’d like. Gently massage the sealed substrate bag to spread the grains throughout.
Blue Oyster: 65–75°F
Pink Oyster: 75–85°F
King Oyster: 65–75°F
Humidity is not critical to control during colonization. The room humidity should be fine.
Straw: 7–10 days
Sawdust: 10–14 days
Master’s Mix: 10–12 days
Blue Oyster: 50–65°F (colder = deeper blue)
Pink Oyster: 70–85°F (dies below ~55°F)
King Oyster: 55–70°F (cooler = thicker stems)
Blue Oyster: 85–95%
Pink Oyster: 90–95%
King Oyster: 80–90% (too high causes bacterial blotch)
You can use your small desk fan to circulate some air around the grow bag. Moving air is important to avoid CO2 buildup.
Blue Oyster: Run the fan 4-6 times a day for 30 minutes
Pink Oyster: Run the fan a whole lot
King Oyster: Run the fan just a few times a day at the beginning then slowly use the fan more and more
Oyster mushrooms need about 12 hours of indirect sunlight a day to fruit. You can use LED bulbs to simulate sunlight if needed.
Blue Oyster: 6-10 days
Pink Oyster: 4-7 days
King Oyster: 11-21 days
Congratulations! Now you have learned how to grow oyster mushrooms. The final step is harvest. Cut blue and pink oyster mushrooms in clusters when the edges have flattened out. Use a clean knife and cut at the base. Do not pull them out because you may be able to harvest again in a couple weeks.
Cut king oyster mushrooms individually rather than in clusters like blue and pink oyster mushrooms. Again, you may get multiple harvests (flushes).
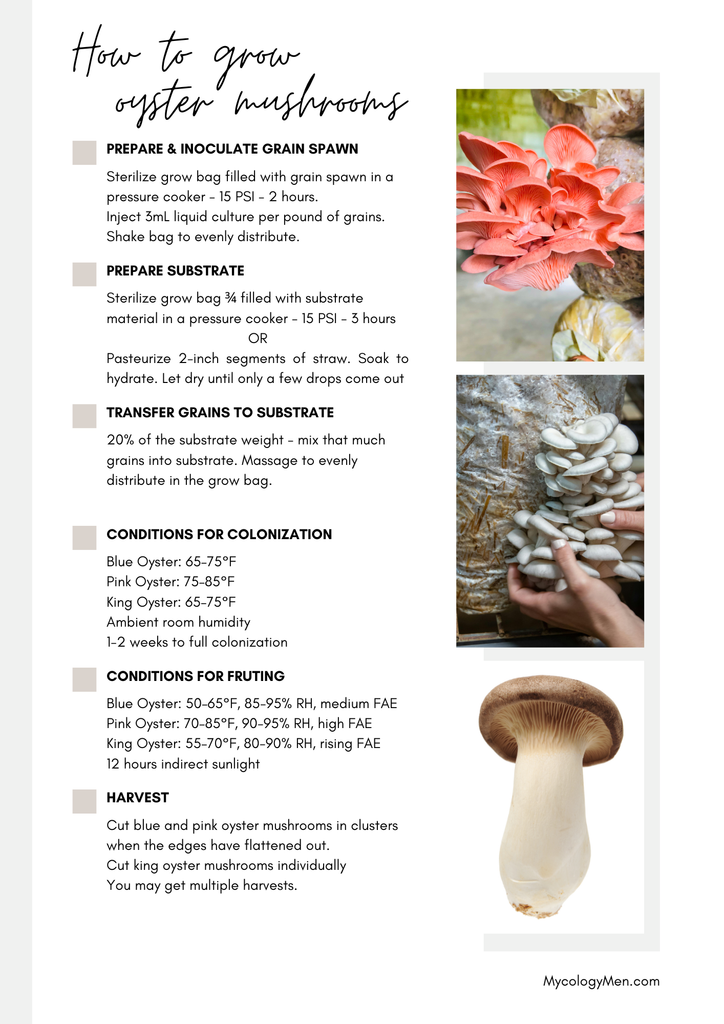
| Species | Colonization Temp | Fruiting Temp |
| Blue Oyster | 65–75°F | 50–65°F |
| Pink Oyster | 75–85°F | 70–85°F |
| King Oyster | 65–75°F | 55–70°F |
| Species | Colonization Humidity | Fruiting Humidity |
| Blue Oyster | Ambient room is fine | 85–95% |
| Pink Oyster | Ambient room is fine | 90–95% |
| King Oyster | Ambient room is fine | 80–90% |
| Species | Fruiting FAE Needs |
| Blue Oyster | High fan use |
| Pink Oyster | Very high fan use |
| King Oyster | Start low and build to high |
This is usually caused by CO2 buildup. Increase your fan usage for a high FAE.
This is commonly caused by low humidity. Make sure your humidity is within the proper range.
Temp: 50–65°F
Humidity: 85–95%
FAE: high
Blue Oyster Grow Guide (LINK)
Temp: 55–70°F
Humidity: 80–90%
FAE: low early, high late
King Oyster Grow Guide (LINK)
Temp: 70–85°F
Humidity: 90–95%
FAE: extremely high
Pink Oyster Grow Guide (LINK)
We are going to assume you are using a 5 pound substrate block for these yield expectations. If you are growing in straw or sawdust, you can expect to yield about 1.5 pounds of mushrooms. If you are growing in a master's mix, you can expect about 2.5 pounds of mushrooms.
Grain colonization: 7–14 days
Substrate colonization: 7–14 days
Fruiting: 4–7 days
Total: 18–35 days
Blue oyster mushrooms can last for up to a week in the fridge as long as they are kept dry.
King oyster mushrooms can last up to 2 weeks in the fridge. Store them in paper bags.
Pink oyster mushrooms are very fragile and really should be used the same day they are harvested. At most, they will keep good in the fridge for a day or two.