Once you have mycelium on agar plates or in liquid culture, you can create grain spawn. Grain spawn boosts the growth of your mycelium that will eventually be mixed with bulk substrate and will then fruit. The grains not only provide nutrition to your mycelium, but they also serve as a vehicle to evenly distribute the mycelium when moving to bulk substrate.
When choosing your grain, smaller is better. Each kernel of grain becomes a mycelial capsule, giving the mycelium a platform to further expand into the area around it. Popular grains are Rye, Wheat, Milo, and Wild Bird Seed. In this article we will cover everything you need to know about creating grain spawns, including the supplies needed and the procedure to follow. Let’s dive in on how to make grain spawn for mushrooms.
In order to sterilize grains you will need your grains, clean water, jars with lids that allow for sterile gas exchange, and a pressure cooker that reaches 15psi. You will also need a way to strain your grains and a clean, flat area to allow them to cool.
You may be limited by what grains are available to you in your area. When choosing what grain to use, a smaller kernel is preferred. Smaller kernels provide more points of inoculation per pound when it’s mixed into the next generation of grain or into substrate.
Make sure the jars you choose can fit into the pressure cooker that you will be using. Quart or ½ Gallon Mason jars are a good size for making grain spawn.
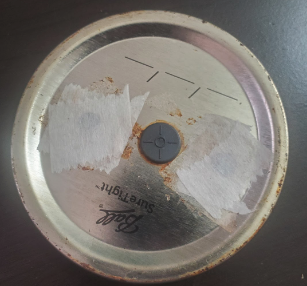
Jar lids should allow for sterile gas exchange in and out of the jar. You can make your own jar lids by punching at least one ⅜”-½” hole into the top of the jar lid and covering the holes using 3M Micropore Tape or a microporous filter disk. If you plan on using liquid culture to inoculate, adding a self healing injection port to your lid is a good idea.
Gypsum is not necessary but it can provide calcium and sulfur to the mycelium and helps keep the grains from clumping during sterilization.
Mycelium on an agar plate or in liquid culture
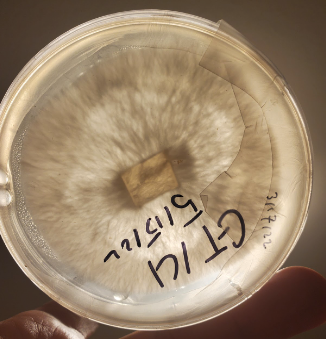
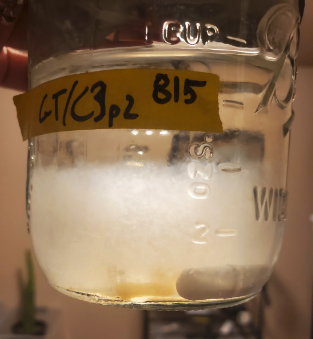
Mycelium on an agar plate (left) and in Liquid Culture (right) that is ready to be used to inoculate sterilized grains.
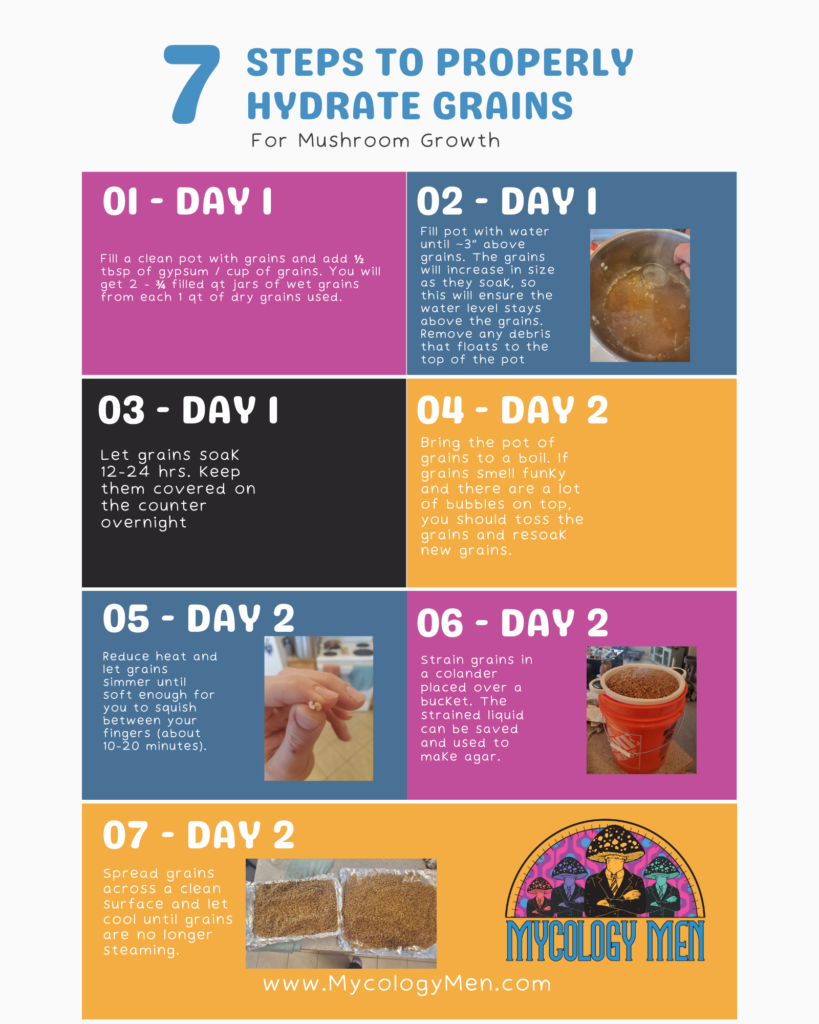
To make the nutrients available to the growing mycelium, the grains must be hydrated with water and boiled. Depending on the size of the jar, you will want to have a moisture content of 40-60%. As your jar size increases, the moisture decreases. Soak the grains overnight, and then bring to a boil and simmer for 10-20 minutes the next day.
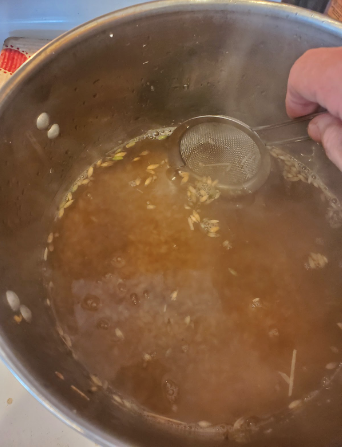
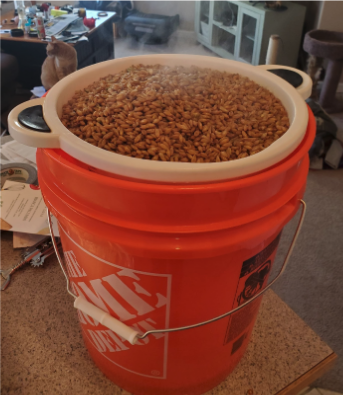
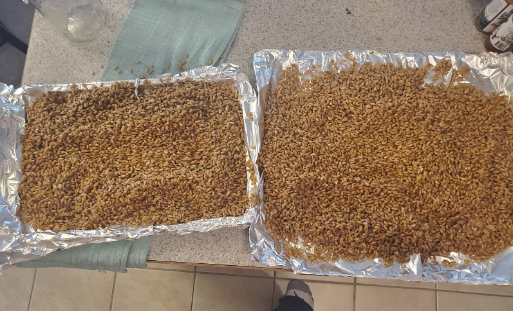
You can tell they are ready when the kernels are still intact, but you can easily squish them between your fingers. Once ready, strain your grains using a colander or a screen. Spread them out on a clean surface and let cool until grains stop steaming. Overcooking your grains will turn them to mush, decreasing gas exchange in those areas and making them more susceptible to contamination.

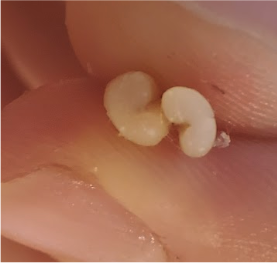
Another way to check if your grains are fully hydrated is to cut some kernels open and look to see if there are any white unhydrated parts. In Image A, the kernel has a lot of white, unhydrated area within it and needs to simmer for longer, but in Image B, the kernel is fully hydrated and the grains should be strained and allowed to cool.
4. Spread grains across a clean surface and let cool until grains are no longer steaming.
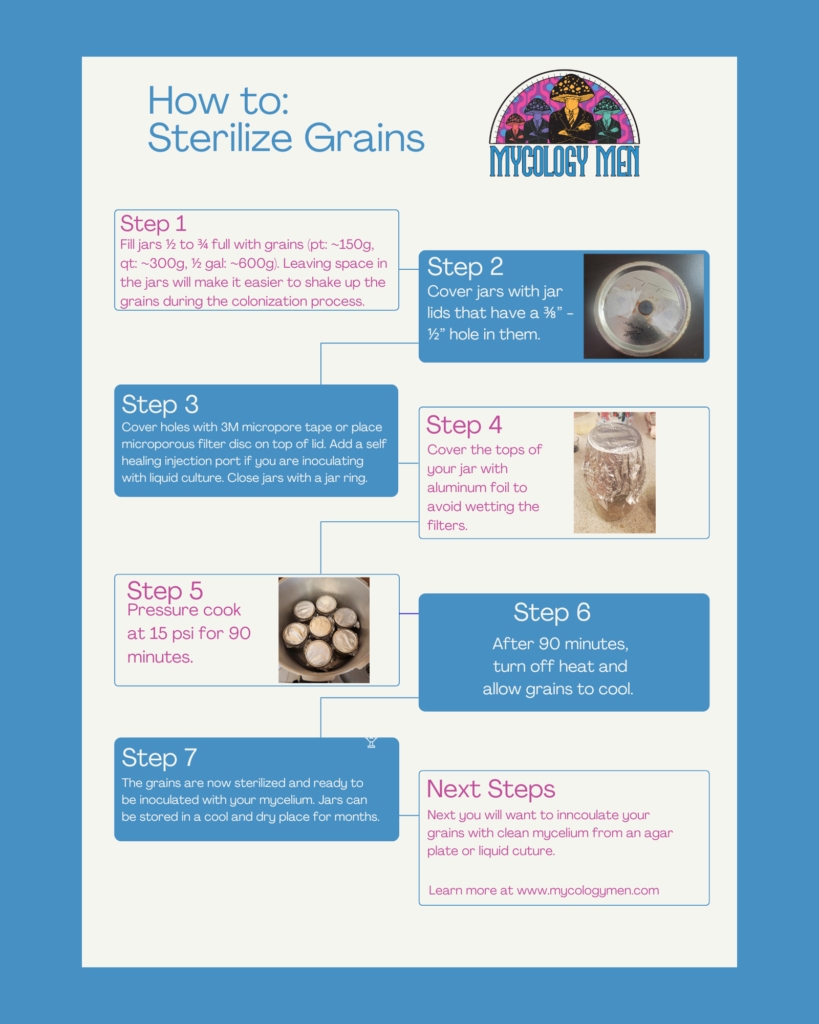
After your grains are hydrated, the next step is to fill your jars and sterilize. Only fill your jars ½ - ¾ full with grains so you can easily mix the grains by shaking. Place the filled jars into your pressure cooker and fill with enough water to last the entire sterilization process. Pressure cook at 15 psi for 90 minutes. After 90 minutes, turn off the stove and let cool for a few hours, or until the jars are safe to handle.
Inoculating Using Mycelium on Agar Plates
Once you have sterilized grains, the next step is to inoculate them with clean mycelium from an agar plate or liquid culture. Ideally, when choosing a plate to inoculate your grains, you’d like a plate that is less than 2 weeks old and has a ~½” uncolonized region on the edges to ensure no contaminants have recently fallen on the plate.
After choosing the plate, you want to work in the cleanest space you have available; this can be in a SAB or in front of a flow hood. Clean everything brought into your clean area with a cleaning solution, 70% isopropanol or ethanol.
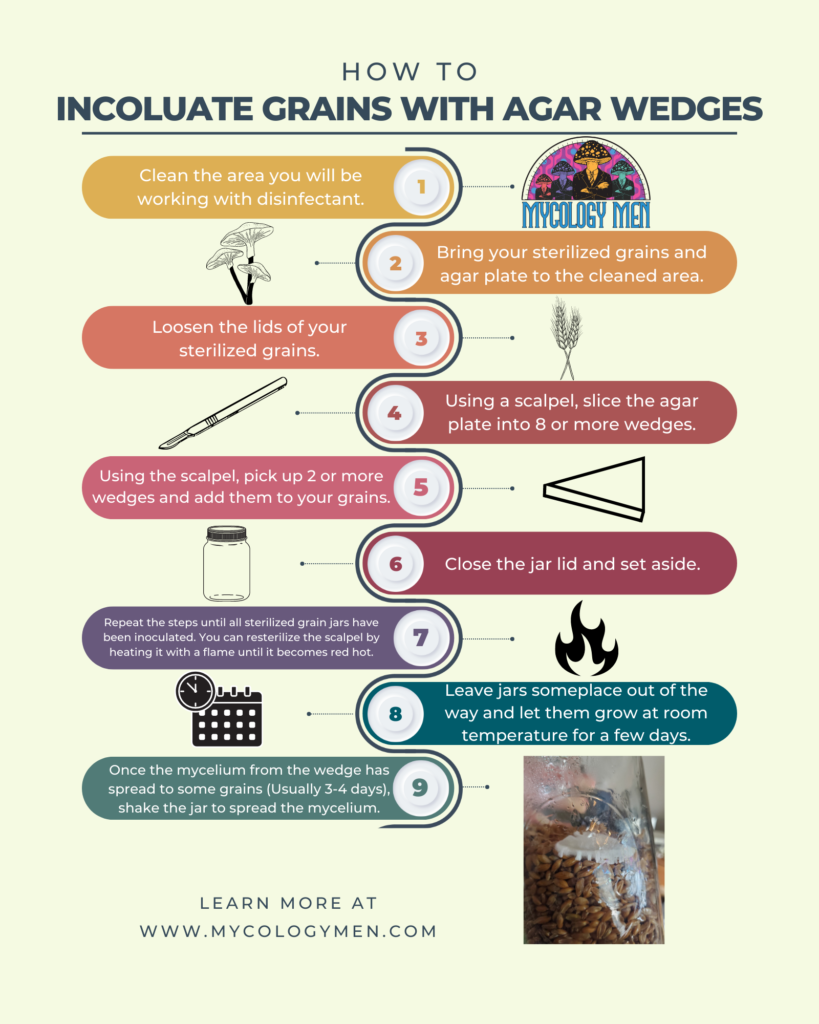
Using a sterile scalpel, cut your agar plate into 8 or more wedges and then replace the cover. Loosen the jar lids so that you aren't struggling to open them when adding agar wedges. If working with a flow hood, place the jars closest to the filter so that they are upstream from where you are working with the agar plate.
Remove the lid of a jar and with a sterilized scalpel pick up 2 or more wedges and add them to the grains. Close the jar lid tight and shake so that the wedges spread throughout the grains. Repeat until all your jars are inoculated.
Inoculating using Mycelium in Liquid Culture
When inoculating with liquid culture it is best to have jar lids with self healing injection ports. Without a self healing injection port,you can inject through the micropore tape and cover the injection site with another piece of micropore tape.
You want to avoid adding too much to your grains because it will alter the moisture content of the jar and may make the grains too wet. 1-2mL of liquid culture is enough to fully colonize a quart jar.
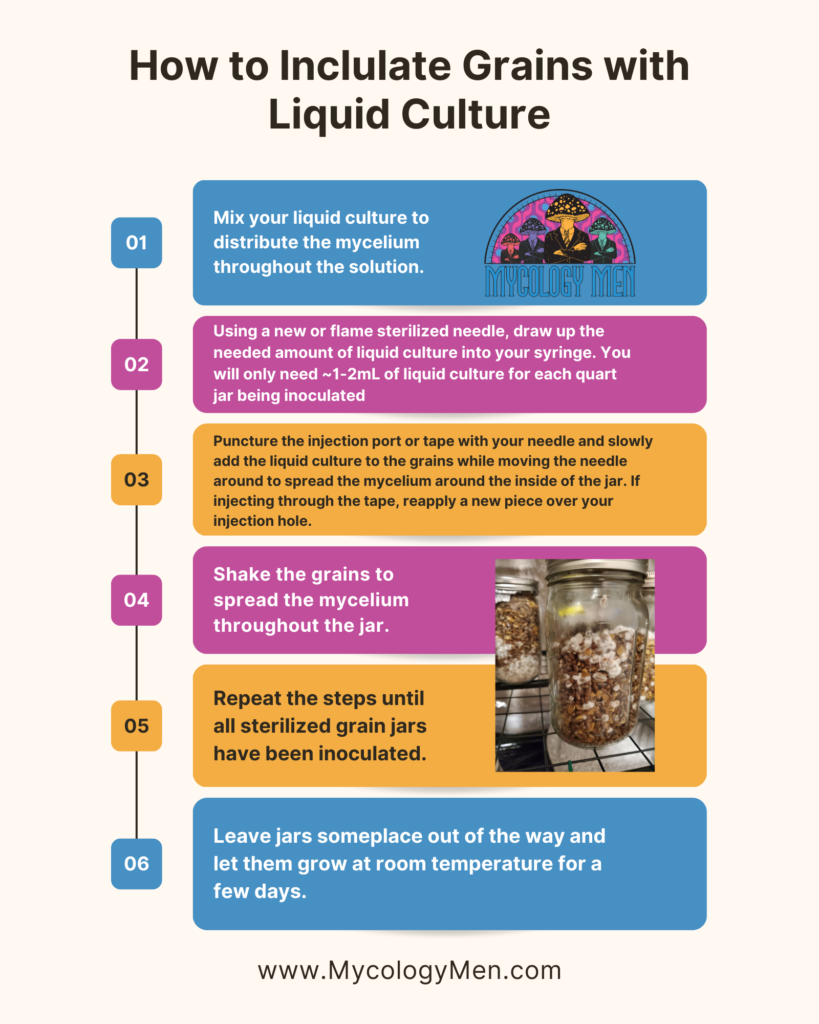
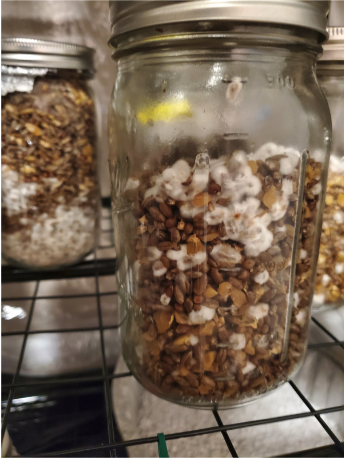
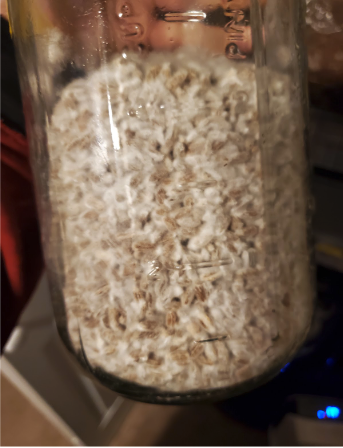
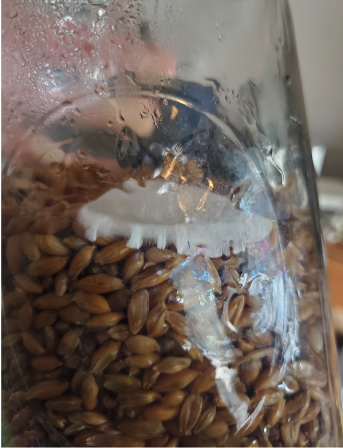
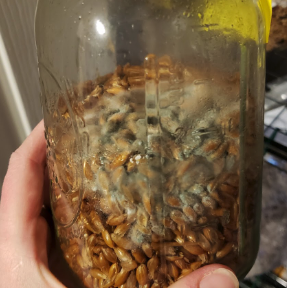
After inoculating your jars, set them on a shelf that is out of the way and leave them to grow. The ideal temperature for growth is 75°F, but most normal room temperatures will be fine. After 3 or so days, check the jar to make sure your mycelium is growing or for any contamination that may be growing, as well. You want to only see white growth on your grains. A common contaminant, trichoderma, will show up as green growth.
If your mycelium is growing and there is no contamination, leave the jars to continue colonizing. Keep checking up on your jars every couple days. When you see >30% of the jar is colonized, shake the jar to redistribute the mycelium. After shaking, place the jars back on the shelf and continue monitoring until the jar is fully colonized. If at ~75% the mycelium isn’t growing evenly, you can give the jars another shake to spread the mycelium around.
When they look fully colonized, I like to give them another 3-5 days to make sure the internal grains are covered with mycelium. After full colonization, it is time to either expand your mycelium onto more grains - 1 jar can be enough to expand into 10 new jars - or move the spawn into a bulk substrate.