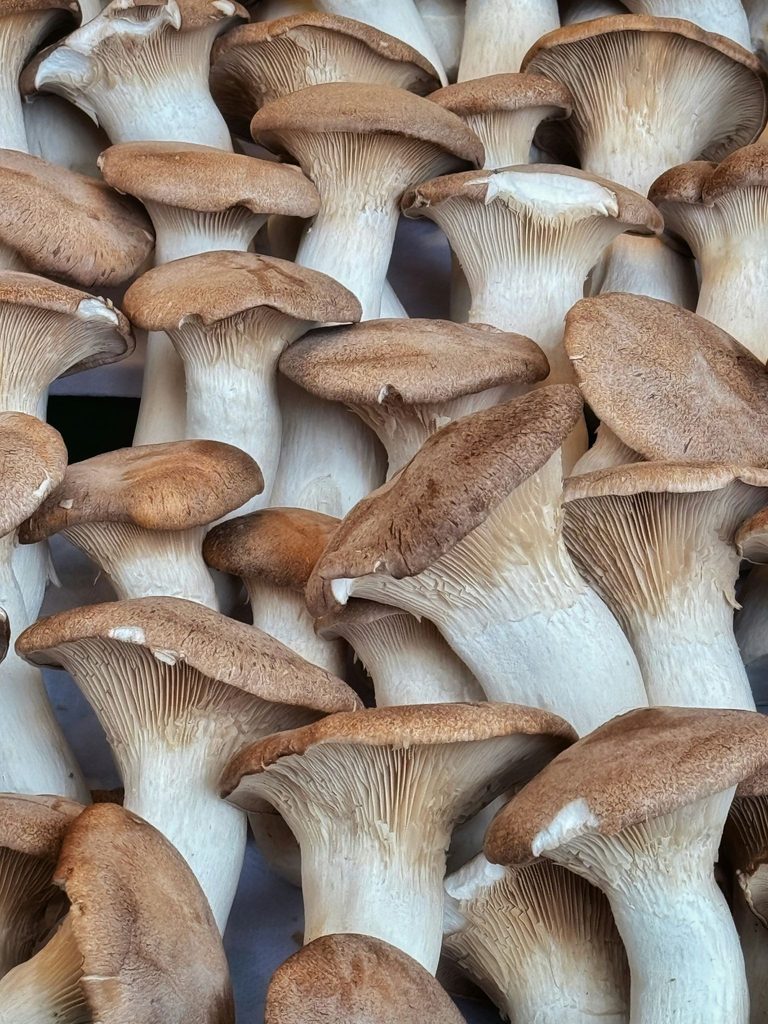
Photo by Anastasiya Badun on Unsplash
King Oyster mushrooms are different from most other oyster mushroom varieties. They are thick and meaty, very unlike the delicate pink oyster mushroom. The stem of the king oyster mushroom is their defining feature. The stems can get up to 6 inches tall and have a wide diameter. They are a creamy-white color. The cap is usually flat when mature and has a light brown color.
Unlike other oyster mushrooms which grow in clusters, king oyster mushrooms grow individually. Like other oyster mushrooms, it is relatively easy to learn how to grow king oyster mushrooms in the comfort of your own home.
They are highly sought after for their culinary usefulness. King oyster mushrooms are a great source of protein and have a low calorie count. Flavor-wise, they have a rich umami flavor which can add to many dishes like stir frys, pasta, tacos, and they are great for grilling. They cook in under 5 minutes. Easy, delicious, nutritious.
Now, we are going to cover everything you need to know to learn how to grow king oyster mushrooms. Relative to other mushroom varieties, they are pretty easy to grow and have a high yield. There are minor differences from growing other oyster mushrooms, but we will make sure all of that is covered so you are set up for success.
These are the best conditions to use when learning how to grow king oyster mushrooms.
King oyster mushrooms colonize within a temperature range from 65-75℉. Normal room humidity is fine for colonization since all the work is being done inside a sealed grow bag. The sealed bag also means there will be high levels of CO2 which is ideal. Finally, during the colonization phase, the grow bags should be left in a dark room.
To induce fruiting, the temperature range must drop to between 55-70℉. You also need to control the humidity to keep it between 80-90% RH. If it is lower than 80% RH, the caps of your mushrooms may be dry. If it is higher than 90% RH you run additional risks to the fruiting phase. Finally, it is time to introduce light during the fruiting phase. You should aim for about 12 hours of indirect sunlight each day.
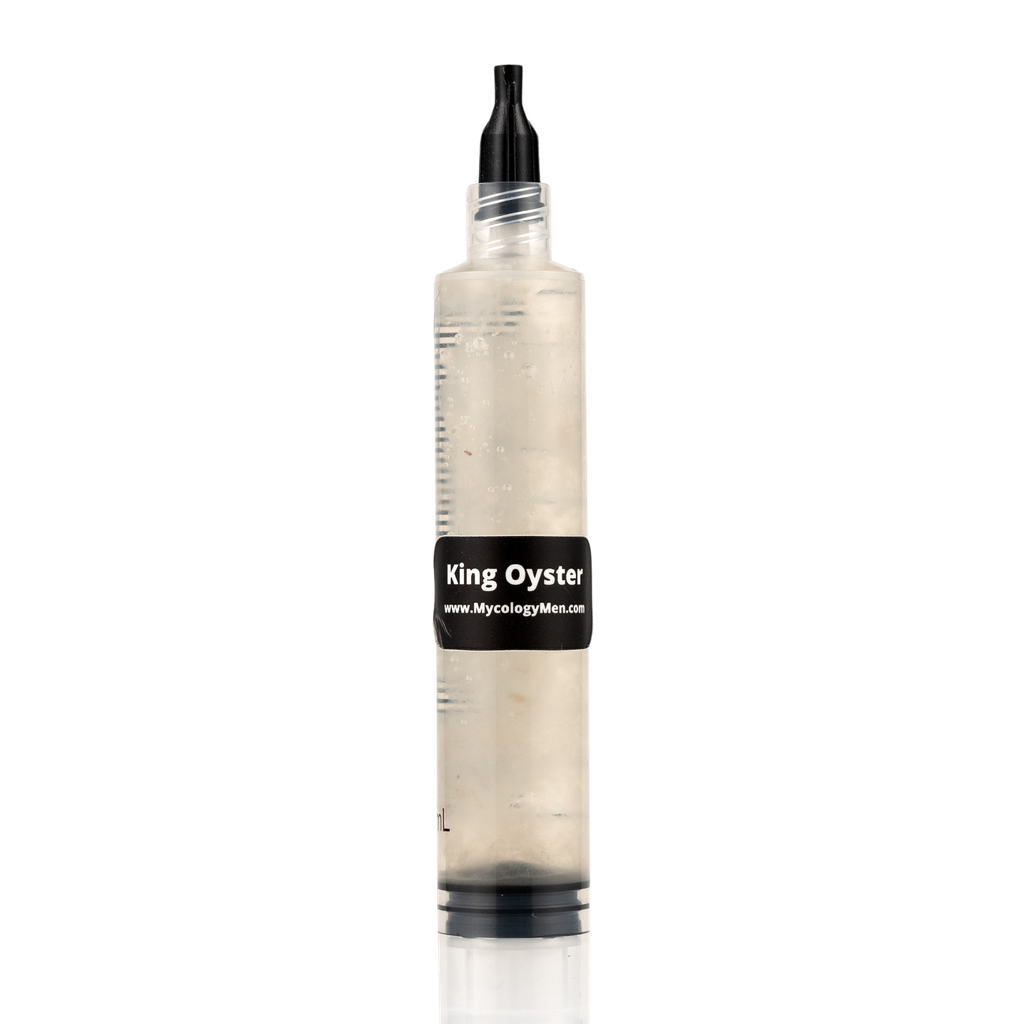
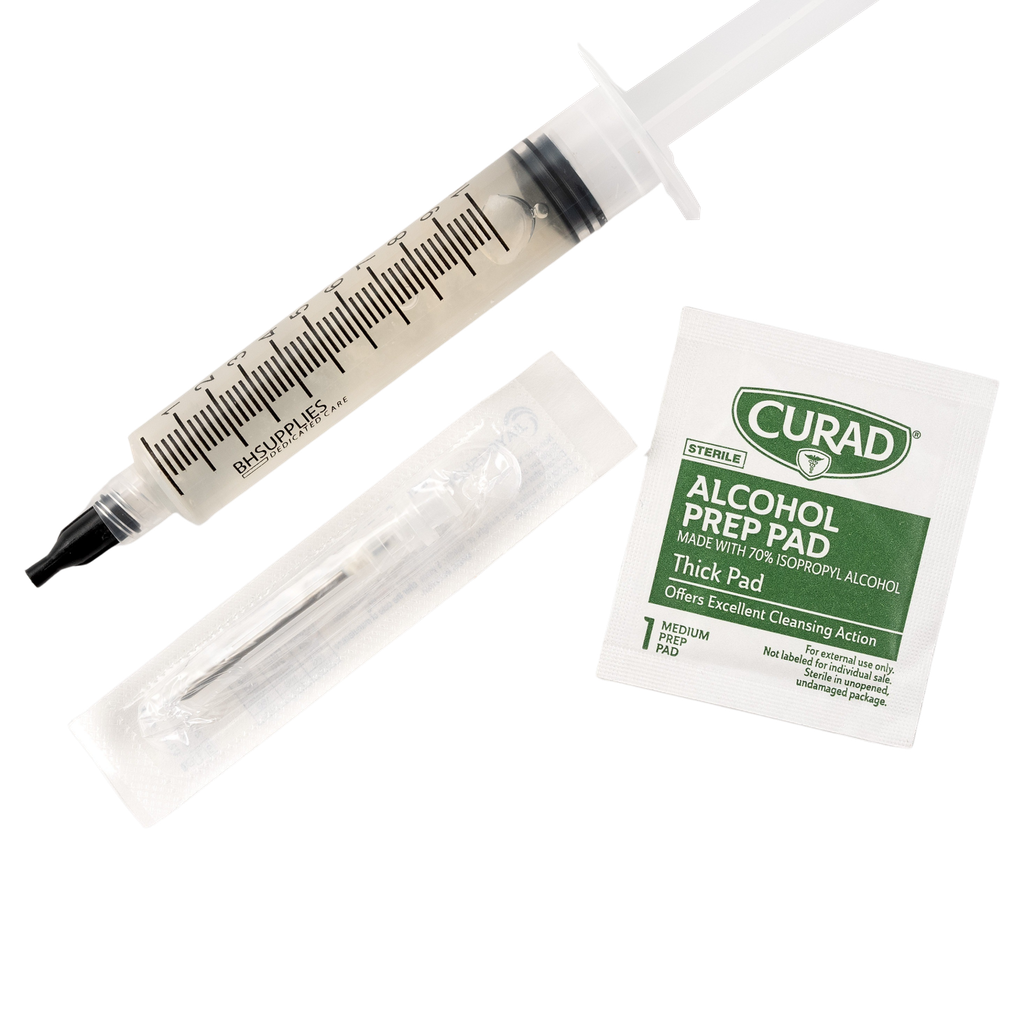
King Oyster Mushroom Liquid Culture from Mycology Men
You can either use master’s mix (50% soy hulls, 50% hardwood sawdust) or just straight up hardwood sawdust. Both are readily available for purchase online, but master’s mix is the industry standard. Hardwood sawdust might be cheaper to acquire, or even free if you have some good logs around your property. When you are just learning how to grow king oyster mushrooms, we suggest using a master’s mix.
In either case, you will need to hydrate the substrate to about 60% moisture. This can be accomplished by soaking the substrate overnight then allowing it to dry. You can test the moisture level by squeezing a handful of the substrate. Only a few drops of water should come out.

There are a few basic steps you can take to help ensure your journey to learn how to grow king oyster mushrooms is free of contamination. First off, always wear nitrile gloves. Secondly, sterilize every work surface with isopropyl alcohol spray or wipes. Finally, try to always work inside the SAB and this will help you avoid airborne contaminants.
Grain preparation is as simple as soaking and boiling your grains in water until they reach about 60% moisture content. Load the grains into a pot of water and let them soak overnight or for about 12 hours. Once they are done soaking, bring the pot of water to a boil and simmer them for around 10-20 minutes. Do a moisture test by grabbing a grain kernel and squishing it between your fingers. It should be easy to press, but not break apart into mush. Over-hydrated grains can lead to contamination. Once the grains have reached a good level of moisture content, strain them with a colander then lay them flat on a clean surface to come to room temperature. Do not proceed until the grains have fully cooled or you increase the chances of contamination. Now you have hydrated grains loaded with nutrients the mycelium will love.
Now, load the hydrated grains into a grow bag. Only fill it about ¾ full so there is room to maneuver. Seal the opening with your heat sealer. Place the sealed bag into a pressure cooker to sterilize at 15 PSI for about 2 hours. Let the bag cool completely before moving on. Working with a hot grow bag is a sure fire way to develop contamination.
Finally, grab your king oyster liquid culture and carefully attach the needle to the syringe. Insert the needle into the grow bag’s injection port and inject about 3mL per pound of grains into the bag (i.e. 6mL for a 2 pound grain bag). Give the bag a good shake to spread out the mycelium then let it sit at 65–75℉ in a dark room until full colonization (1-2 weeks).
Hydrate your substrate until you can squeeze it and only a few drops of water come out (this is called field capacity). Load the hydrated substrate into a new grow bag. Only fill the bag about ⅔ full so there is room to add the colonized grains later on. Seal the top of your grow bag with a heat sealer. Now you need to sterilize it. Place the filled grow bag inside a pressure cooker and sterilize at 15PSI for about 3 hours per 5 pounds of substrate. Allow the sterilized bag to cool completely before moving on.
Move both your grain bag and the substrate bag underneath the SAB if you are working with one. Sterilize all your work surfaces. We are about to open both bags and mix them, so this is the step with the highest contamination risk.
Cut the seal of both bags with sterilized scissors then add grains at about 20% weight of substrate (i.e. 5 pounds of substrate gets 1 pound of colonized grains). Thoroughly mix the grains into the substrate by massaging the outside of the grow bag. Finally, use your heat sealer to seal the opening in the grow bag.
Lay the bag flat or keep it upright into a dark room at about 65-75℉. Room humidity is fine for this phase. Full colonization can take up to 2 weeks.
If you have a fruiting chamber, move the bag there once it has fully colonized. Adjust the temperature to 55-65℉. Cut open the top of the bag with sterilized scissors. Adjust the humidity in the surrounding area to 80-90% RH. This can be accomplished with a misting humidifier if needed. Allow the bag to be in contact with indirect sunlight for 12 hours a day. Sunlight can be simulated with LED lights if needed. Use a small desk fan for fresh air exchange (FAE) just a few times a day to start.
You should start to see pins appearing within a week. Allow the stems to get thicker and increase FAE. After about another week or two, the stems and caps should be fully matured and ready for harvest!
You will know they are ready when the stems are thick and straight and the caps have flattened out a bit (but not all the way flat). Since king oyster mushrooms grow individually, unlike other oyster mushrooms which grow in clusters, they should also be harvested individually. Use a sterile knife to cut them at the base. Avoid pulling them out as you may be able to grow and harvest more!
Once you have done your first harvest, allow the grow bag to rest for a few days and rehydrate with a mister if needed. Repeat the steps in the fruiting section above and you can get another harvest or two before the bag is spent!
This is usually caused by too much FAE early on. If you see it happening, decrease your FAE.
Oversized caps are usually the result of temperatures being too high. Aim for 55-60℉.
This can happen if you are misting the mushrooms directly rather than the walls of the grow bag. The humidity is too high and bacteria love that. Decrease your humidity to fight off any bacterial patches.
This can happen when the colonization temperature is a bit too low. Increase the temperature in the room to help speed along colonization.
You can expect about 1-2 pounds of mushrooms from a 5 pound substrate bag on your first harvest. Subsequent harvest will usually yield about ½ pound - 1 pound of mushrooms.
King oyster mushrooms are easy and versatile to cook with. You can slice the stems into medallions then get to work either grilling, pan searing, or cooking them. They are great in dishes like stir frys, pastas, soups, and more. They can also be a meaty addition to tacos.