Learning how to grow blue oyster mushrooms is really not all too complicated! In fact, blue oyster mushrooms are one of the easiest gourmet mushrooms to grow at home. They grow in clusters and colonize very quickly.
These deep blue mushrooms are a delicacy in the kitchen. They absorb all the flavors you cook them with and even keep their texture as you cook them. They brown and have crispy edges making them texturally divine. Use them in stir frys, pan seared, grilled, in pasta, soup, and more. They are quite versatile.
Health-wise, learning how to grow blue oyster mushrooms can really benefit you. They are low in calories, high in nutrients, and have a decent amount of protein. They are great for your gut health and have been shown to provide immune-system and heart support.
Now it is time to get into the specifics of exactly how to grow blue oyster mushrooms. We will start with the required equipment and materials, talk about sterile techniques to avoid contamination, then provide a step-by-step guide.
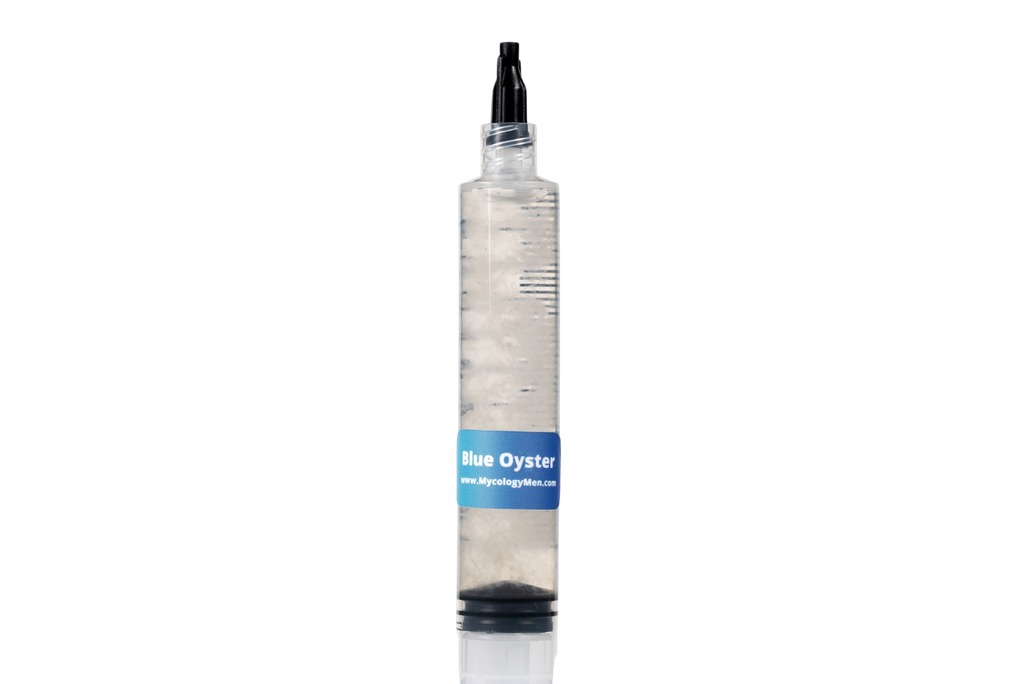
Blue Oyster Mushroom Liquid Culture by Mycology Men
Contamination is your enemy! And it is nothing to laugh at or disregard. Contamination can ruin an otherwise perfect grow. Always wear nitrile gloves when working with your materials. Clean all surfaces, including your gloved hands, with isopropyl alcohol. If possible, work inside an SAB to reduce the risk of airborne contamination.
Colonization:
Fruiting:
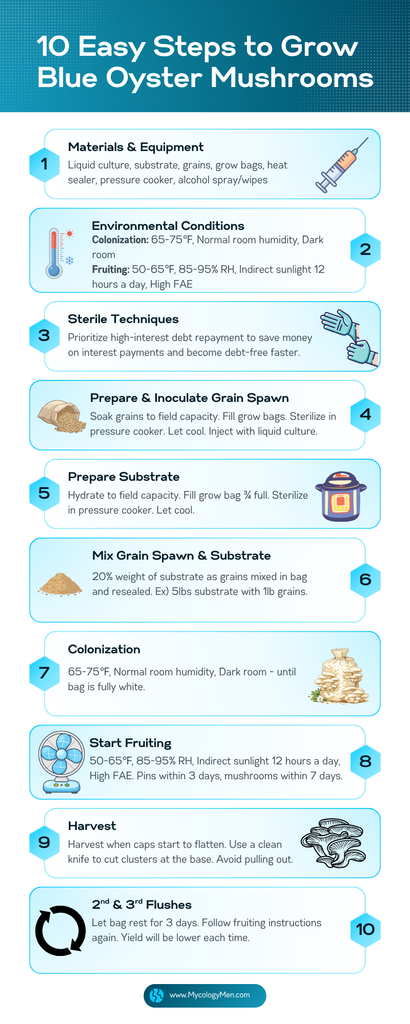
Here we are going to prepare nutrient-rich grains that mycelium will absolutely adore. Dump the grains into a pot of water and let them soak overnight. This should give them enough time to increase their moisture content to around 60%. The next day, bring the pot of grains and water to a boil then let it simmer for 10-20 minutes. Now, you can do a moisture test by grabbing a kernel of grains between your fingers and squeezing. If it turns to mush, you have too much moisture which is a big no-no. If it is hard to squish, then you do not have enough moisture content. Once you have reached about 60% moisture content and kernels are easy to squish without turning to mush, drain them with a colander and lay them flat on a clean surface to cool to room temperature. Patience is key here! You do NOT want to use heated grains as this will probably lead to contamination.
Now, you can fill a grow bag ¾ full with the hydrated grains. Seal the bag closed with a heat sealer then place it inside a pressure cooker to sterilize. Pressure cook at 15 PSI for about 2 hours. More grain weight can take longer to sterilize.
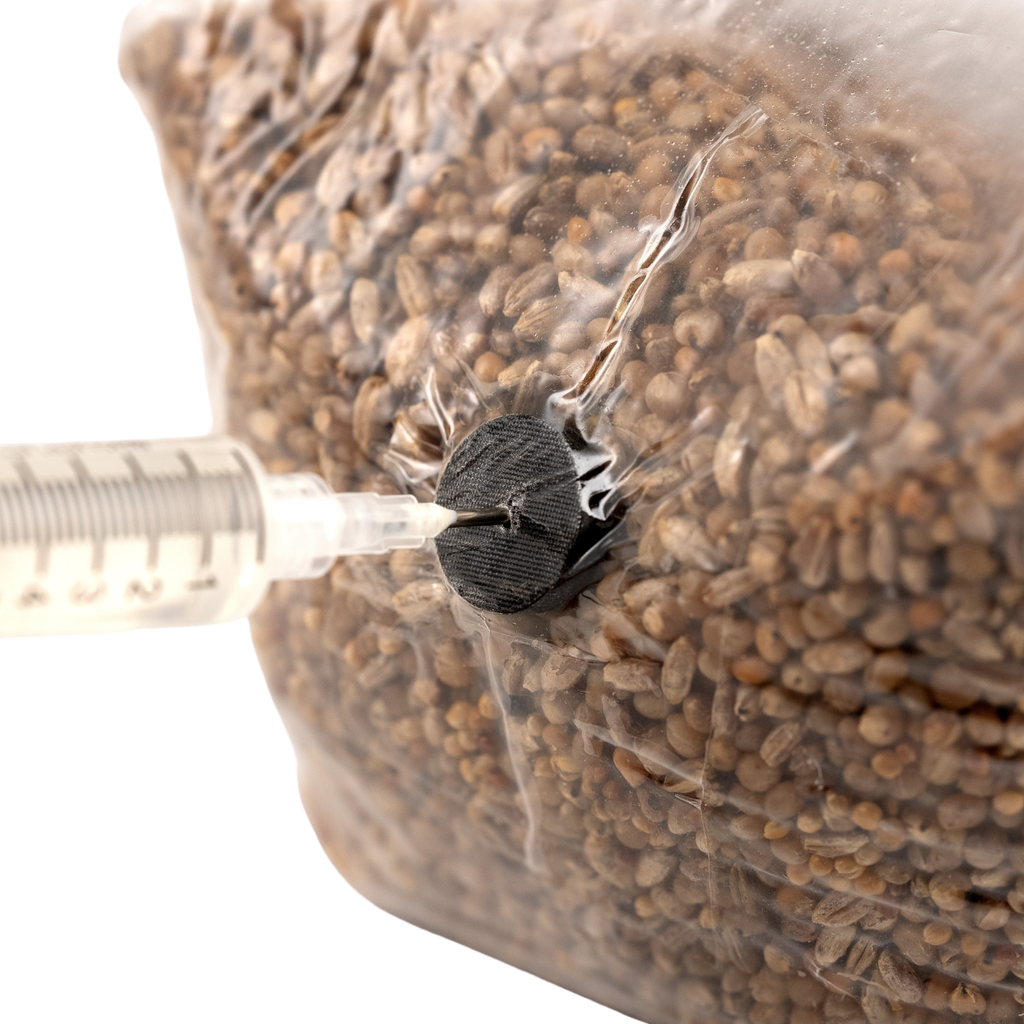
Let the grain bag cool before moving forward. Working with warm grains increases the likelihood of contamination. Grab your liquid culture syringe and carefully attach the needle. Insert the needle into the self-healing injection port of the grow bag. Inject 3mL of liquid culture for every pound of grains (i.e. 12mL for 4 pounds of grain).
Give the grain bag a good shake to distribute the mycelium from the liquid culture. Leave it to incubate in a good at 65-75℉. Normal room humidity is fine for this phase. Try to leave the bag in a dark room for now.
When the bag reaches about 30% colonization, give it another good shake to spread out the mycelium growth. Full colonization can take up to 2 weeks.
Hydrate the mix to field capacity and perform a squeeze test to verify. Only a few drops of water should come out when you squeeze it. Load the hydrated mix into a fresh grow bag. Fill it about ¾ full so there is room to add the colonized grains later. Seal the bag with a heat sealer.
Place the sealed bag in a pressure cooker and set it to 15 PSI for 2.5 hours per 5 pounds of substrate. Allow the bags to cool to room temperature before going forward.
Cut the straw into 2 inch pieces then soak them in 165℉ water for an hour. Remove the straw from the water and dry it to field capacity. Only a few drops of water should come out when you squeeze a handful. Let the straw cool to room temperature before proceeding. Fill a new grow bag ¾ full with the straw bits, but do not seal the bag shut just yet. Proceed to the next step immediately after filling the bag to decrease the risk of contamination.
If you are working with master’s mix or hardwood sawdust, use sterilized scissors to cut open the top of the substrate bag.
Open the colonized grain bag with sterilized scissors. Determine what is 20% of your substrate weight. Mix that 20% weight of grains into the substrate bag. For example, if you have 5 pounds of substrate, 20% is 1 pound of colonized grains. Gently massage the bag to evenly distribute the grains throughout the substrate. Seal the bag shut with a heat sealer.
Let the bag sit in a dark room with normal humidity at 65-75℉. Full colonization should take about 2 weeks. You will know it is fully colonized when the entire bag is white.
If you have a fruiting chamber, move the bag there now. If not, set up a humidifier to keep the room at 85-95% RH. Set the temperature in the room to a cool 50-65℉. The colder you make it, the more dark blue the mushrooms will be (just don’t go below 50℉).
Cut the top of the bag to allow for fresh air exchange and growth. Set up a desk fan and run it pretty often. Blue oyster mushrooms require high fresh air exchange (FAE).
You should also expose the bag to indirect sunlight for 12 hours a day. If you do not have a window to accomplish this, you can use LED lights.
Now you are all set to wait for the magic to happen! Pins should appear within 5 days. Over the next few days, caps will expand and flatten.
Your blue oyster mushrooms will be ready to harvest right as the cap edges begin to flatten. This is usually about a week after initiating fruiting. Use a clean knife to cut the clusters of mushrooms at the base. Be careful not to pull them out as this can disrupt your 2nd and 3rd flushes.
Guess what, you’re not done yet! You can harvest mushrooms one or two more times most likely. Let the bag rest for a few days then repeat the fruiting step above. It can help to mist the walls of the bag to rehydrate.
Congratulations! You just learned how to grow blue oyster mushrooms.
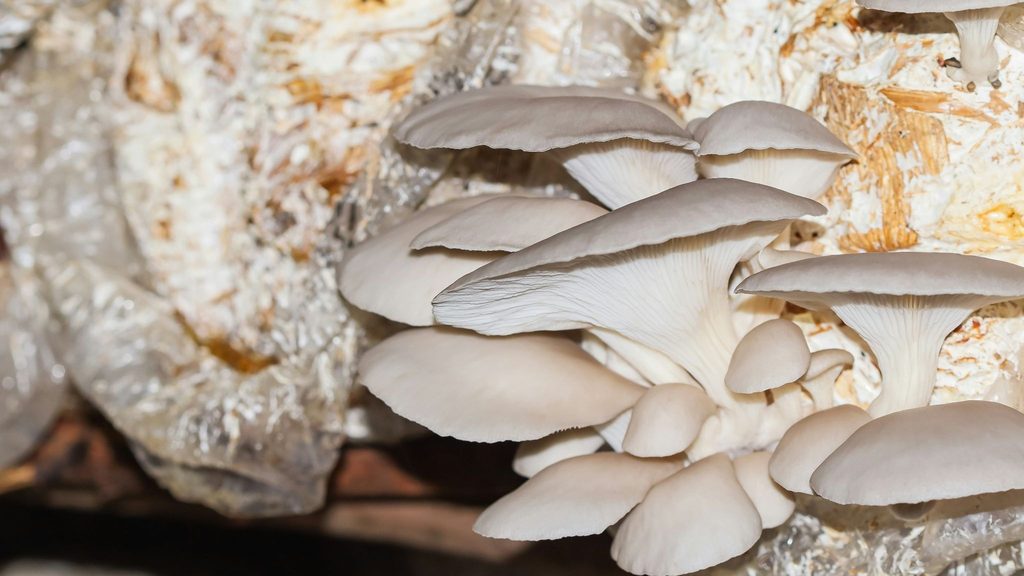
Photo by Victor Birai on Unsplash
Misshapen blue oyster mushrooms are usually caused by an abundance of CO2 inside the fruiting grow bag. Increase the fresh air exchange by running your desk fan more often. This should lower the CO2 concentration.
This is an all too common issue, but luckily it has an easy fix. The temperature is too high in your fruiting chamber most likely. Make sure the temperature remains between 50-60℉ during the fruiting phase.
As you may be able to guess, this is caused by too low humidity. Increase the humidity to 90-95% RH and those edges should look better.
Growing in master’s mix usually has a higher yield that growing in straw. With master’s mix, you can expect about 2lb of blue oyster mushroom from 5 pounds of substrate. Your 2nd and 3rd flushes will have lower and lower yields, but still worth it. You can expect each subsequent flush to yield half of what the previous flush yielded.