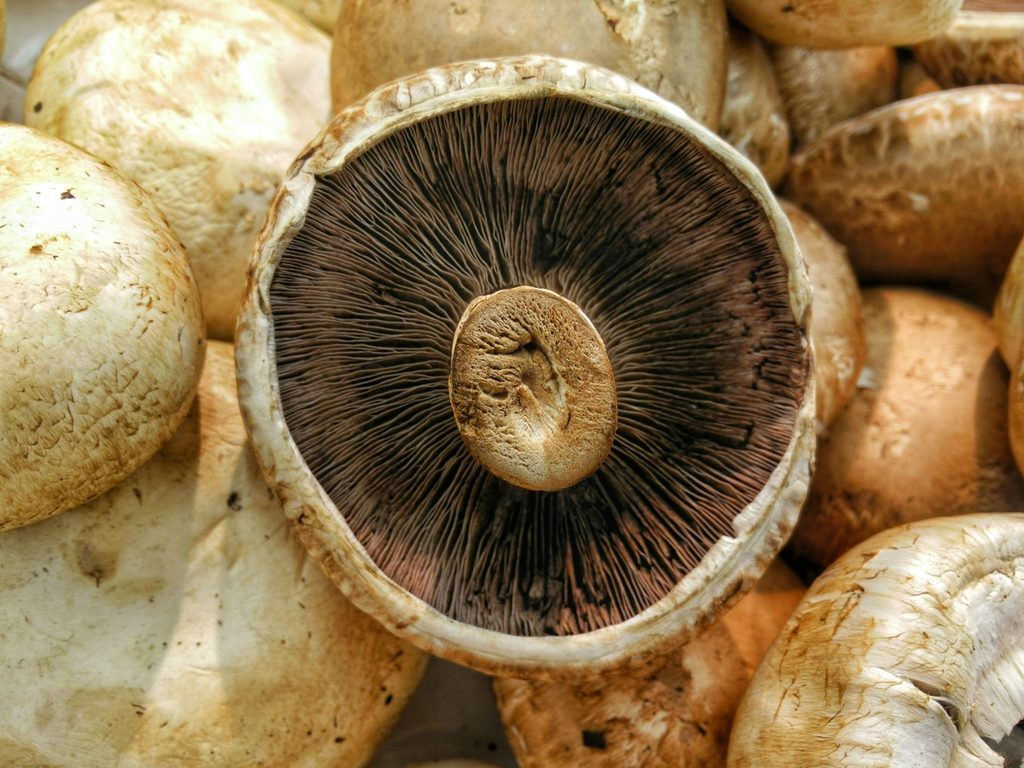
Did you know that portobello mushrooms are the matured version of the button mushroom? Who knew?! When allowed to grow for a longer period, the white button mushroom will grow large brown caps and develop a deeply rich umami flavor. Their rich flavor is what makes them possibly the most popular mushroom for meat substitutes. Mushroom burgers are generally made with portobello mushrooms. You can find them in a number of other culinary classics as well.
Learning how to grow portobello mushrooms at home is a very rewarding task because they grow a bit differently than the classic oyster and other types of mushrooms. All mushrooms need a medium to grow on, known as the substrate. Portobello mushrooms use compost as the substrate. Not only that, but portobello mushrooms also require a special casing layer to help them fruit.
Don’t let any of this frighten you. While the process of learning how to grow portobello mushrooms may require some extra steps, it is well within reach for complete beginners. In this article we will describe to you exactly what supplies you need, the necessary environmental conditions to grow portobello mushrooms, and a step-by-step guide you can easily follow to learn how to grow portobello mushrooms. The guide starts with liquid cultures and goes all the way through harvest and multiple flushes. Without further ado, let’s learn how to grow portobello mushrooms.
Portobello mushrooms are popular in the culinary world for their meaty texture and rich umami flavor. Unlike other types of mushrooms, portobellos are a bit denser so they can be cooked long enough to absorb really good flavor. Their savory taste makes them perfect as burgers, in pasta and stir-fries, on grilled veggie platters, and (our personal favorite) as stuffed portobello mushrooms. They are such large caps that you can really stuff them with pretty much anything.
Like many other mushrooms, protobellos are low in calories and fat. Aside from that, they are also rich in antioxidants and a good source of B vitamins. Research points to portobellos being great for healthy aging and protection against oxidative stress (source).
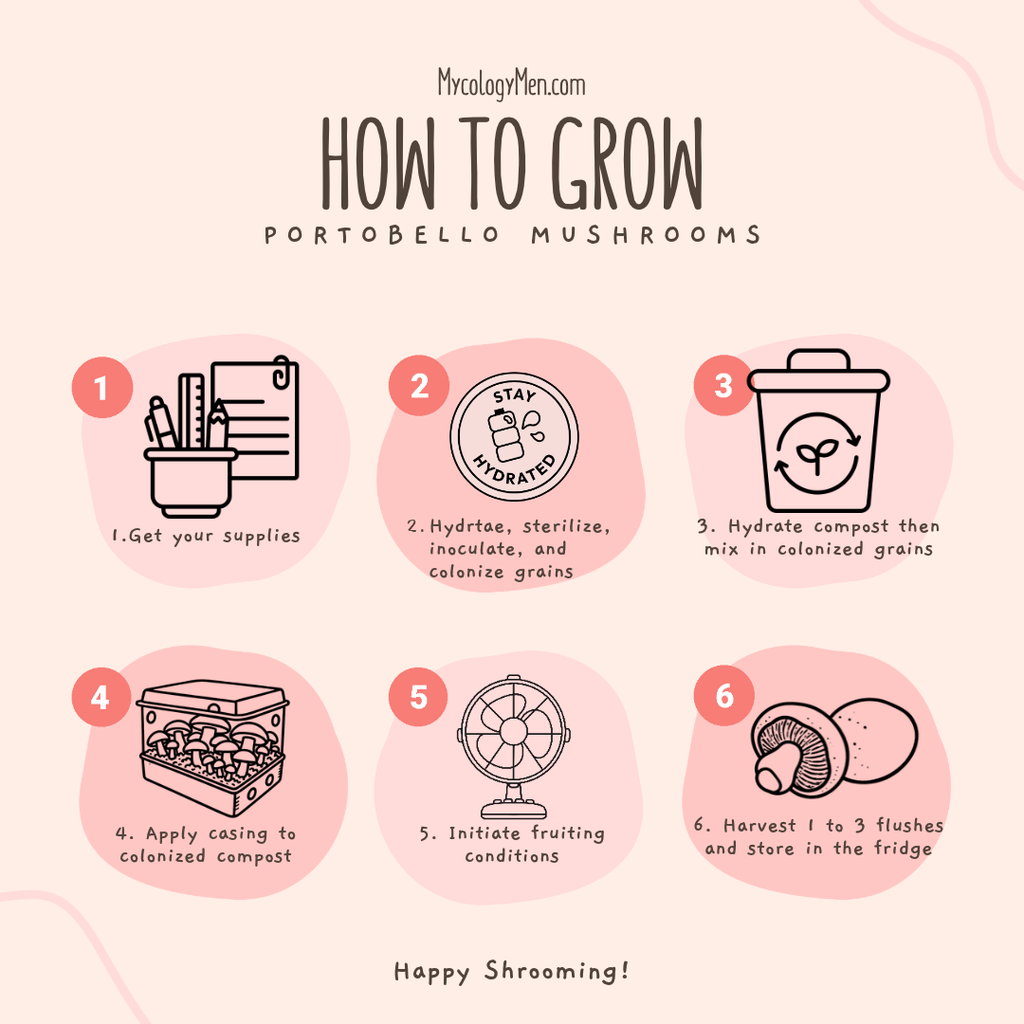
Step 1: Liquid culture (syringe with live mycelium floating inside) is injected into grains inside a grow bag (3-4 weeks to full colonization)
Step 2: Mix colonized grains into compost (2-3 weeks)
Step 3: Apply casing layer to retain moisture in the compost
Step 4: Trigger fruiting (3-4 weeks to harvest)
Step 5: Harvest (about 8-10 weeks from beginning)
This phase requires about 75℉, no humidity control as it is contained inside the sealed grow bag, a dark room, and there are no fresh air requirements due to the sealed bag. You will know your growth is healthy if the mycelium is white, evenly spread through the grains, and does not smell bad.
The temperature should be set to 70-75℉ with a humidity of 85-95%. You will want very little fresh air exchange (FAE).
For fruiting, the temperature drops to about 60-70℉. The humidity remains high at 85-95% RH. FAE increases to moderate levels. You should also allow the compost to come in contact with indirect sunlight.
Contamination is the ultimate Darth Vader to your mushroom Luke Skywalker. If you are not careful, contamination will take over. Always wear nitrile gloves. Clean the palms of your gloved hands with iso alcohol. Clean any tools and all work surfaces with iso alcohol. Always be aware of possible sources of contamination; this could even mean your breath on sterilized grains.
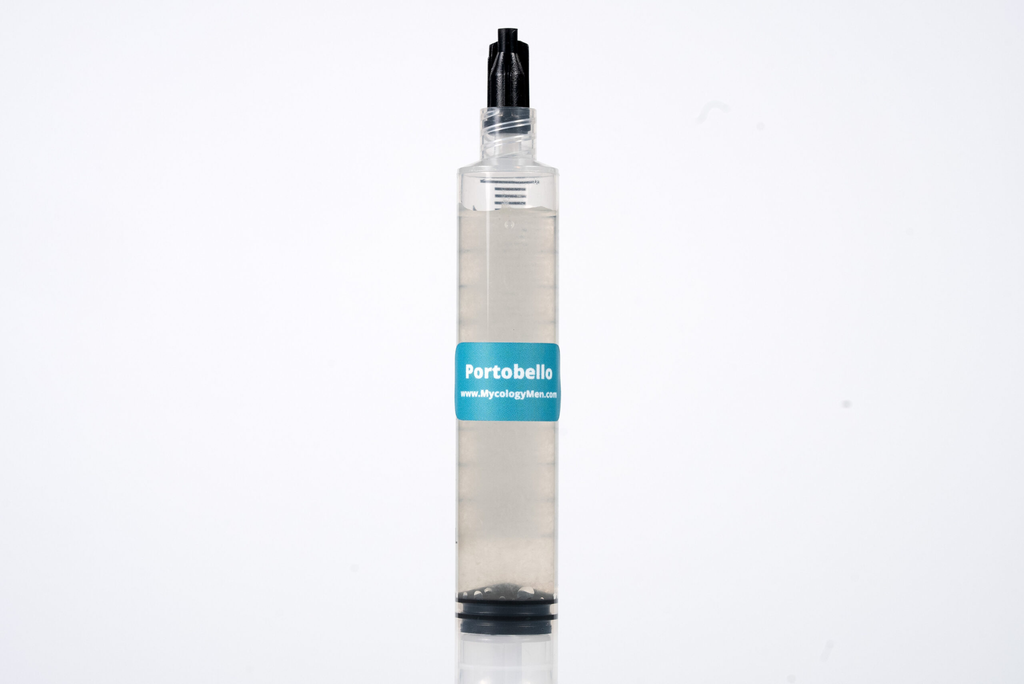
Portobello Liquid Culture by Mycology Men
Find a reputable supplier to purchase a portobello liquid culture. This is your first step when learning how to grow portobello mushrooms. Liquid cultures are syringes filled with a nutrient broth. Inside the broth is live mycelium. You could call this the mushroom “seeds”, but that is not an entirely accurate description. A liquid culture with good genetics and without contamination is key to a successful grow.
Place your grains into a large pot and soak in water for 24 hours. After soaking, drain the water from the grains then refill the pot with fresh water. Simmer the new water very gently for 10 minutes. At this point the grains should be swollen, but not mushy at all.
Spread the grains out on a flat surface to let them drain to field capacity. This means the grains should be moist enough that they are swollen, but not moist enough that they are dripping.
Load your hydrated grains into a fresh mushroom grow bag. It should be filled about ⅔ full. Seal the bag with your heat sealer.
Place the sealed bag into a pressure cooker. Follow the manufacturer’s instructions to pressure cook the bag at 15 PSI for 2 hours. This step is absolutely essential.
Let the bag cool COMPLETELY before moving on. Warm grains are a great way to invite contamination.
Prepare a clean work surface and get those gloves on. You can wipe the injection port of the grow bag with alcohol for sterilization. Give the liquid culture syringe a good shake to spread the mycelium evenly inside. Now, open your needle and attach it to the syringe. If the needle is not fresh from the packet, sterilize it with a flame. Insert the needle into the grow bag injection port. Press the plunger down to inject about 3mL of the liquid culture into the grow bag. Remove the needle from the injection port and carefully dispose of the needle. Gently massage the grow bag to spread the mycelium out. Record the date and the strain of mushroom you are using.
Store the grow bag in a dark room at about 75℉. Do your best to make sure it is a clean environment.
After a week or so, you should see white patches begin to form. It may appear to be strands of white mycelium. Around the 2nd week you should reach about 30% colonization. Once you do, give the grow bag a gentle massage to spread out the mycelium. If there are any clumps of grains, break them up with a gentle massage.
Now all you have to do is have patience. Wait for the grain to be fully covered in the white mycelium. This can take up to 4 weeks. When you think the bag is fully colonized, give it another day or two to make sure the mycelium has reached the inner grains and not just the surface.
In this article we will be referencing the use of pre-made mushroom compost. If you would like to make your own mushroom compost, check out our article on the topic here - How to Make Mushroom Compost.
The first step is to bring the compost to field capacity moisture levels. This means about 60% moisture. You can test it by grabbing a small handful of compost and giving it a squeeze. Only a few drops of water should come out. If it is too dry, slowly add water and mix into the compost then test again. If it is too wet, spread the compost out on a clean and flat surface to let it air dry.
Open the colonized grain bag with a sterilized pair of scissors. Carefully break up the grains and mix them into the compost. A common ratio you can follow is 1 pound of grains for every 10 pounds of compost (1:10 ratio). Attempt to distribute the grains as evenly as you can.
Now, grab your monotub or growing tray and make sure to give it a good cleaning. Lay the compost down into a 6 inch layer. Do not press the compost down as you need some airflow through it to let the mycelium grow. Try to level the surface of the compost as well.
Place the compost filled tub or tray into a room with high humidity (85-95%) and a temperature of 70-75℉. Gradually, the mycelium will spread through the compost. This can take up to 3 weeks. It is best not to disturb the compost during this phase. The only skill you need here is patience.
Portobello mushrooms need a casing layer to help them start fruiting. This is one of the key differences between learning how to grow portobello mushrooms and other common mushroom varieties.
We are going to assume you have a pre-made commercial casing. Before applying it to the compost, you need to test for moisture levels. Like the compost, it should be at field capacity. You can text the moisture level by giving a handful of the casing a squeeze. Only a few drops of water should come out. If it is too dry, add small amounts of water and mix until it reaches the moisture level you want. If it is too wet, spread it out evenly to let it air dry until it reaches field capacity.
Once the compost is fully colonized, spread an inch or two of the casing over the entire surface. It is best to wear gloves during this process. Try to make the surface as even as possible without compressing the casing into the compost.
The goal here is to allow fresh air exchange (hence why it cannot be too compact), while also retaining moisture in the compost with the help of the casing layer. The casing should be damp, but never soaking wet. If needed, you can lightly mist the surface of the casing layer.
Maintain the same environmental conditions as you have and allow the casing to colonize over the next 2 weeks. The goal here is partial colonization. The casing layer should not become fully white with mycelium.
Once you begin to see signs of colonization on the casing, it is time to initiate fruiting. Lower the temperature to 60-70℉ while maintaining 85-95% humidity. You can also now expose the tub or tray to indirect sunlight during the day. The final condition you must introduce is fresh air exchange (FAE). This can be accomplished with the use of a small desk fan. Without FAE, CO2 levels will rise and become problematic.
Over time you should be monitoring the casing layer. Make sure it is damp, but never soaking wet. If it appears a bit dry, you can mist it with some water.
You will begin to see pins emerging from the casing within a few weeks. They will look like tiny white button mushrooms, but rest assured, time will turn them into large and glorious portobello mushrooms. Be sure to maintain the environmental conditions - stable low temperature, high humidity, FAE, and indirect sunlight.
Over time, the pins will begin to grow larger and larger. You will see the tell tale portobello caps begin to form as well. At the same time you will see the stems begin to lengthen. Fully formed portobello mushrooms usually appear within 10 days of pinning.
Once you have fully formed portobello mushrooms, it is finally time to harvest. Your 6-10 weeks of patience and hard work has paid off! You will know the mushrooms are ready for harvest when the caps are fully expanded and the brown gills show up.
Grab the mushroom at the base of the stem and twist gently. It will not take much effort to break them away from the casing layer. Be careful not to pull them out. If you pull them out, you may ruin your chance for further harvests (flushes).
After harvest, lightly mist the casing layer and maintain fruiting conditions. You may be able to get a 2nd and even a 3rd flush. You should expect lower and lower yields from each following flush.
This may seem counter-intuitive, but do not wash the mushrooms with water before storage. You can gently brush off any leftover compost. Place the mushrooms in a paper bag and store in the refrigerator. Plastic bags are a big no-no because they seal the moisture in which can lead to slimy mushrooms which literally no one wants. They can last up to a week in fridge storage, but the sooner you use them, the better.
You can watch out for a few signs that point to grain contamination. These include: green mold, black spots, or a bad smell. Unfortunately there is no way to recover contaminated grains. You will have to discard them and start over.
What you can do is learn from mistakes. Grain contamination is most likely the result of inadequate sterilization or bad sterile techniques. Make sure to really focus on keeping your workspace, your tools, and even your hands as sterile as they can be. Don’t be shy with the isopropyl alcohol! Contaminates are always trying to sneak their way in. The more you do to prevent that, the better chance you have at avoiding contamination during your grow cycle.
Contaminated grains could also be due to a dirty liquid culture. If you start with a contaminated liquid culture, you really have no chance of success.
Slow colonization can happen if your temperatures are too low or the grains are too dry. In either case, you can adjust and speed up the process. Double check all environmental conditions and proceed as necessary.
A weak liquid culture can also be the cause of slow colonization. In that case, there is nothing you can really do because the genetics of that particular mycelium just make it slow growing.
If you are not seeing pins form after applying the casing layer and adjusting to fruiting conditions, there are a few aspects you can check on. For one, make sure your temperature is correct. Next, make sure the casing layer is even and not compressed. If it is too compact, airflow is affected and that can lead to high CO2 levels. Finally, make sure the casing is properly moist.
Keep the casing layer properly moist with the use of a mister. Mist the surface lightly, but avoid standing water.
The short answer is, no. When coco coir is used as a substrate to grow other common mushroom varieties, it mostly acts as a water-retention material. It does not provide very many nutrients to the growing mushrooms. And this is just fine for, the likes of say, oyster mushrooms. Portobello mushrooms on the other hand, require the nutrients compost can provide and coco coir cannot.
Learning how to grow portobello mushrooms from liquid culture is a new experience even for seasoned mushroom growers. They differ from many other common mushroom varieties in the growing process. Instead of typical hardwood substrate, portobello mushrooms grow on compost and require a casing layer. Utilizing proper technique, starting with a good quality liquid culture, and having a bit of patience will lead you to success when learning how to grow portobello mushrooms.