4 Easy Steps How to Make Mushroom Compost
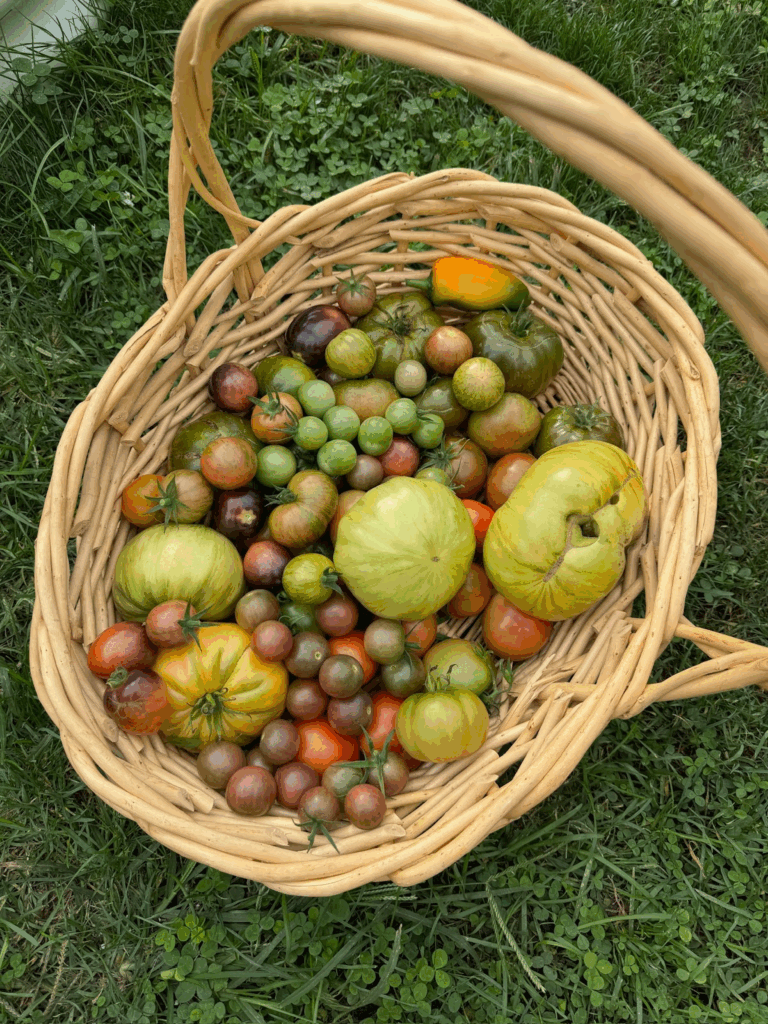
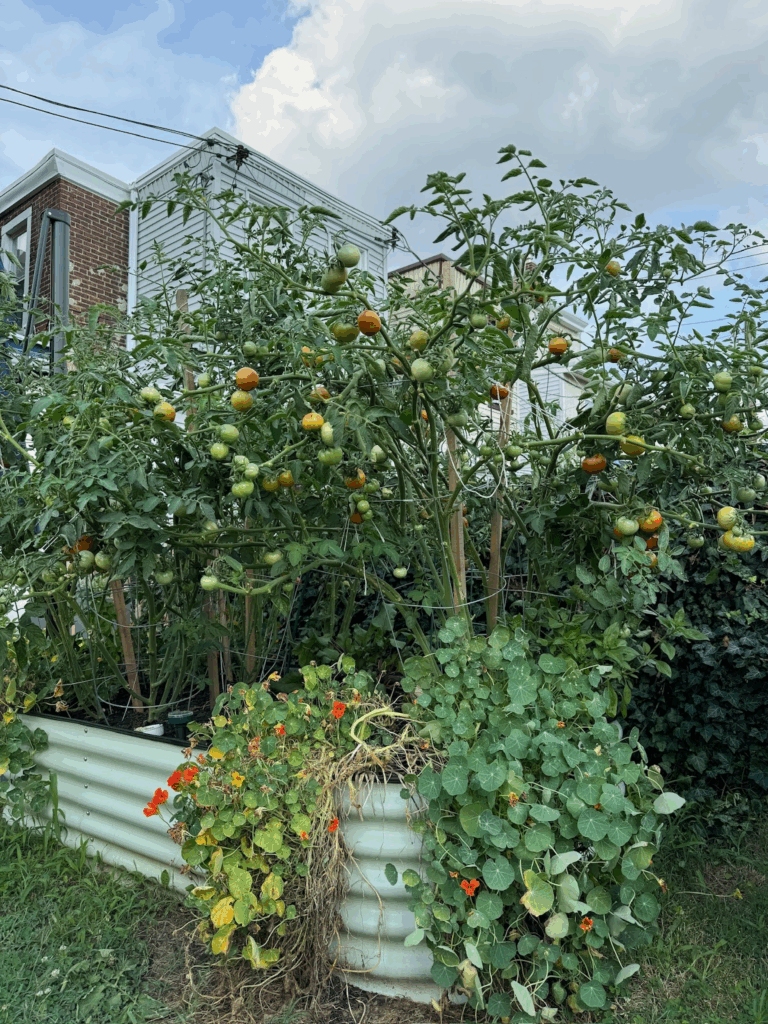
Mushrooms are the new wave of health and wellness routines. Mushroom coffee, mushroom tea, mushroom pill capsules. Mushrooms are everywhere! But, did you know that mushrooms can be majorly beneficial in your garden?? That’s right, mushroom compost can be used to provide nutrients, increase water retention, improve soil health, and even prevent diseases from harming your garden. Take a look at the picture below of my garden at home. We grow lots of vegetables (mainly tomatoes and peppers) and we use mushroom compost religiously. There has been an increase in production and we are battling less disease since we started using mushroom compost.

In this article we are going to tell you exactly how to make your very own mushroom compost. It’s not as hard as you may think! In addition, we are going to expand on the benefits of using mushroom compost . Let’s make your garden flourish!
It should be no surprise that mushroom compost is absolutely filled with nutrients that can benefit your garden. Nitrogen, phosphorus, and potassium are the big three. You need good levels of all three for a garden to flourish.
Soil-structure is an important quality to consider for your garden. Mushroom compost can help your soil retain water so your plants can drink enough. The texture of mushroom compost can also make it easier for plants to root and to uptake nutrients. Not only that, but the microorganisms in mushroom compost can break down organic matter and add even more nutrients to your garden.
Every garden is in a never ending war between beneficial and harmful microorganisms. They compete for resources. If you have a strong base of beneficial microorganisms, they can fight the harmful microorganisms so they don’t have a chance to grow and harm your garden.
The whole goal of utilizing mushroom compost is to help your plant flourish in a nutrient-rich environment. Healthy plants produce more. For a farmer that relies on high yields for income, you can see how this would be a major benefit.
Below you will read how to make mushroom compost, but here is a quick preview. It uses straw, manure, and spent mushroom substrate. All of these are substances which might get thrown away if you don’t use them to make mushroom compost.
Since your mushroom compost is doing all the hard work of pest control and nutrient-boosting, you don’t need to use fertilizers or pesticides in your garden. Fertilizers and pesticides can be harmful to the environment. Save the planet and use mushroom compost!
BE SURE TO READ ALL INSTRUCTIONS BEFORE STARTING YOUR PROJECT
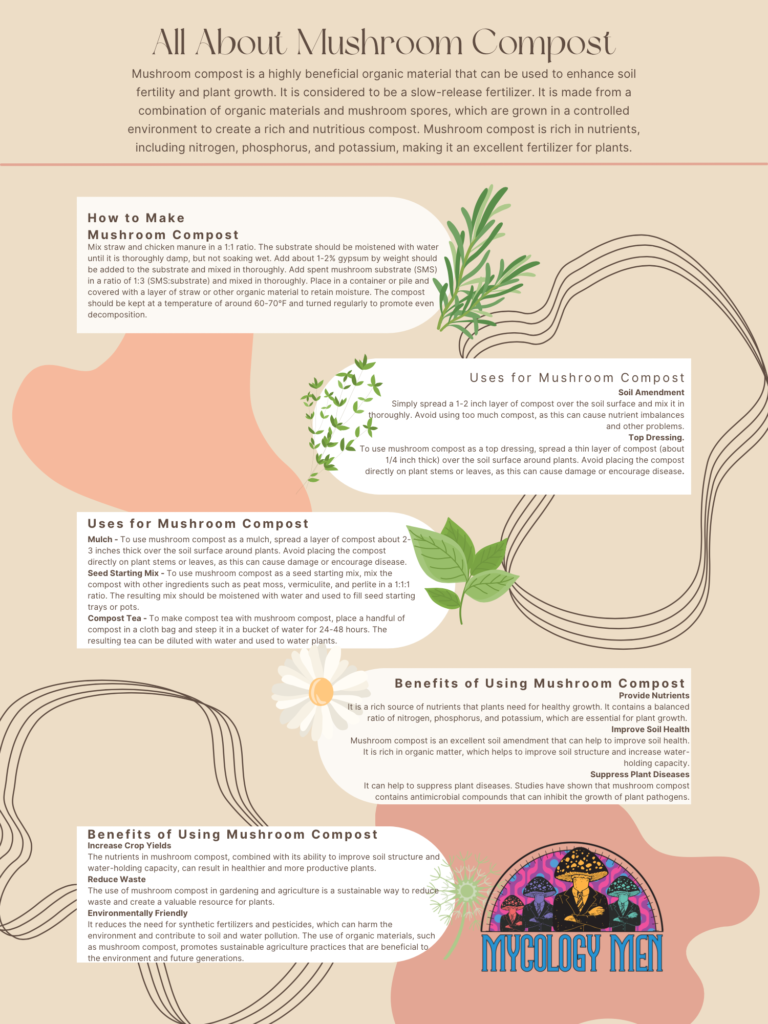
To prepare the substrate for your mushroom compost, simply mix straw and chicken manure in a 1:1 ratio. It would be beneficial to plan ahead how much compost you will likely use for your gardening needs. This will inform you how much straw and chicken manure to use.
Once you have mixed those two together to create your substrate, wet the substrate with water. You want it to be damp all the way through, but not soaking wet. Too much moisture can lead to problems with the compost and eventually harm your garden instead of helping it.
Once your substrate is made and thoroughly damp, it is time to add 2% gypsum (by weight) to the mixture. This means if you have about 20 pounds of substrate, you need to add 0.4 pounds of gypsum. You can use this formula:
Weight of substrate x 0.02 = Weight of gypsum
Make sure to mix in the gypsum well so it is evenly distributed through the substrate.
Now it is time to add your spent mushroom substrate (SMS) to your brand new mushroom compost substrate. SMS is what is leftover after you have harvested a mushroom crop (you can grow your own mushrooms using liquid cultures or spawn plugs). SMS contains all the good stuff you want in your compost: spores and mycelium mainly. Combine the SMS with your compost in a 1:3 ratio. This means you should use ⅓ the amount of SMS as you have compost. Referring to our example before, 20 pounds of compost needs to be combined with 6.67 pounds of SMS. Mix it thoroughly then we can move onto the final step.


4. Let is Decompose
The final step is to let your newly made mushroom compost decompose. Place your mixture in a container or pile it up and cover it with straw. It needs to retain the moisture you added, so make sure to put a lid on the container or fully cover it with straw. Let that sit in 70F weather and mix it up regularly. Don’t forget to keep mixing the compost regularly to promote even decomposition. If you don’t mix it, it will not decompose evenly or at all. And even worse, it will probably smell terrible!
So, now that you’ve done all the work of making your mushroom compost, how do you know when it is ready to use? This is a great question because if you use the compost too soon, it can actually be harmful to your plants rather than help them. There are a few signs you can look for to determine if your compost is ready for use.
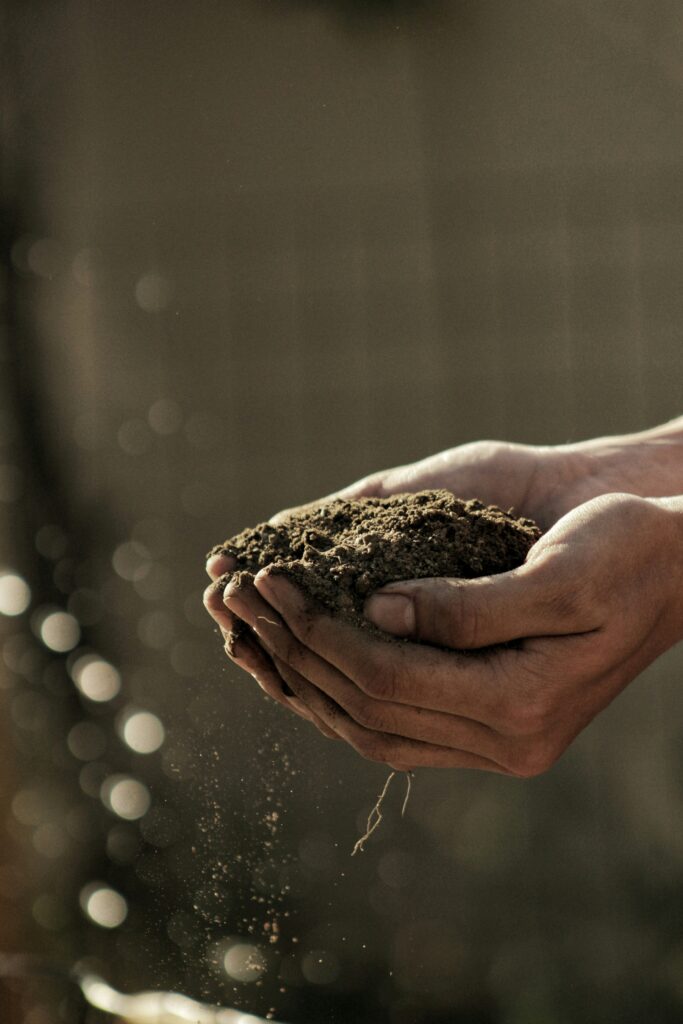
Firstly, it should be dark-brown or black and crumbly and soil-like. It should not look like straw anyone.
Secondly, check the smell. It should have an earthy smell. If it smells rotten or like manure then it needs more time to decompose.
While compost decomposes, it heats up dramatically. Temperatures can reach 170F! It is a good indicator that your compost is ready for use when it has cooled back to room temperature. It should stay at this temperature even after you mix it up. If you mix it up and it heats up again, that means it is not ready.
Ready-to-use compost should be a bit moist and break up easily. If it is very wet and clumps together, then it needs more time to decompose.
Don’t rush it. The decomposition process can take up to 6 months! Patience is key because if you use your compost before it is ready, it can harm your plants.
Once you feel the compost is finally ready, you can do a test to make completely sure. Plant a few seeds in a cup of compost and see if they germinate and sprout normally. If they don’t, that is a good indicator that your compost is not ready.
There are some common ways to utilize your mushroom compost to benefit your garden. The main goal is to introduce the nutrients from the compost into your soil to grow happy and healthy plants.
The most obvious way to use your compost is to simply mix it into the top layer of your soil. Use about a 2 inch layer of compost and thoroughly mix it into the soil. This will introduce nutrients to your soil and create an ideal environment for plants to grow.
You could also use mushroom compost as a thin top layer to your soil. About ½ inch thick. Just leave it sitting on top and the nutrients will slowly introduce themselves to the soil.
Some people choose to use their mushroom compost as a mulch substitute. Spread a thick layer (3 inch) over your soil. This can help with water retention, temperature regulation, and even suppress weeds. It is best practice to not place mushroom compost against plant stems as this can lead to unwanted effects like disease.
Using mushroom compost to start your seeds is a fantastic application! It is nutrient rich and can give the seeds a head start in life. Use a 1:1 ratio of soil and compost.
This may be the most unique use of mushroom compost we have seen. Basically, you want to introduce the nutrients from the mushroom compost into the water you use to hydrate your garden. Place a bit of mushroom compost in some cloth then soak it in water for about 2 days. Remove the cloth, add some more water, then go ahead and use your nutrient-rich compost tea to water your garden. Your plants will thank you!
Make sure to check out the rest of our blog for more mushroom growing tips!