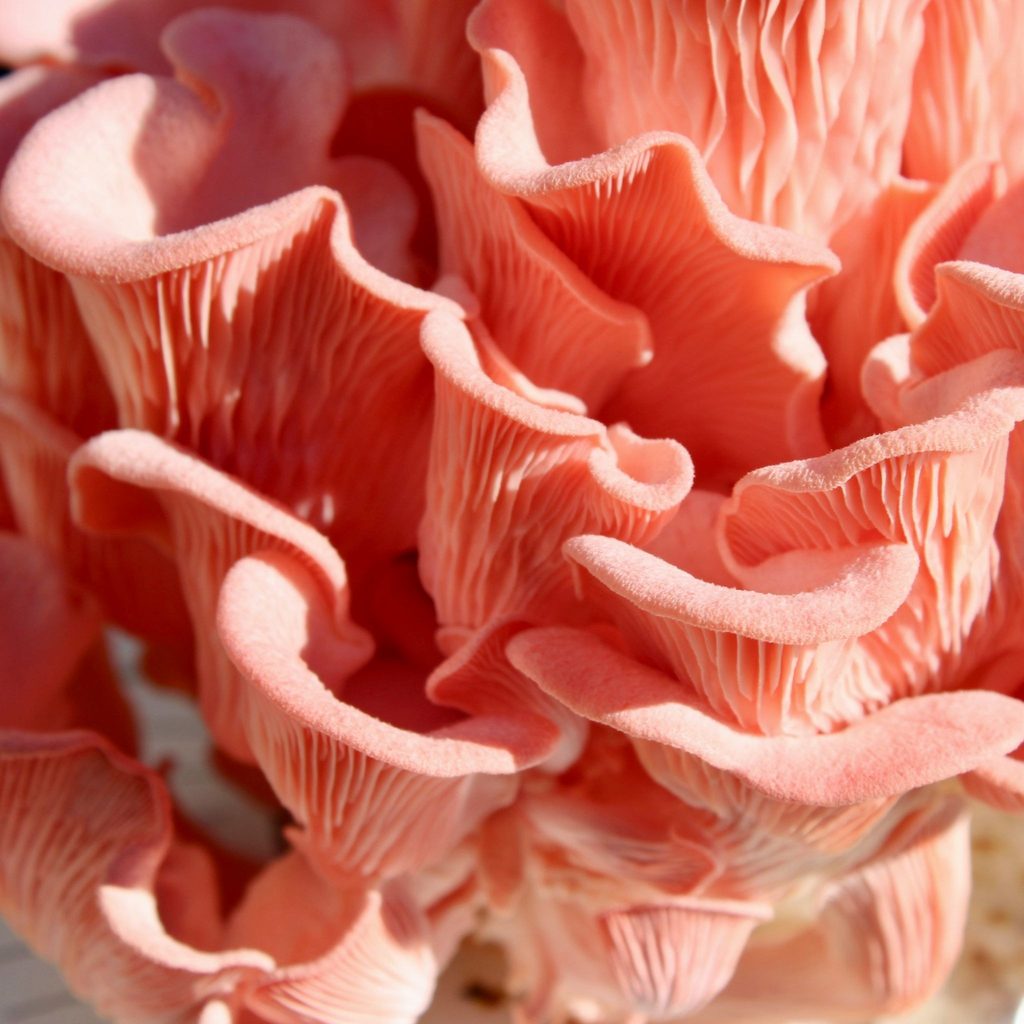
Photo by Ryan Waldman on Unsplash
These bright pink oyster mushrooms are a delicate delicacy in the kitchen. Their ruffled clusters are quite eye-catching. Many people chose to learn how to grow pink oyster mushrooms because they grow fast which makes them contamination-resistant and easy for beginners. They differ from other types of oyster mushrooms because of their delicate structure. They are best used right after harvest as they will not last more than a day or two at most. They also differ from other oyster mushrooms in that they are best grown in warmer conditions (this is opposite the blue oyster mushroom which likes colder temperatures).
Pink oyster mushrooms have a very short stem (you may not even notice it) and the caps resemble wavy petals. They grow in clusters so they are harvested in bunches. Home chefs and professional chefs alike enjoy pink oyster mushrooms because they cook very quickly, give dishes a lightly crispy yet chewy component, and can make any dish pop with a splash of pink. They do not have an overwhelming taste by any means so they can be used in a wide variety of dishes. Not only do they have culinary virtue, but pink oyster mushrooms also have some highly sought-after health benefits. They are nutrient-dense and low in calories which is an appealing combo. They have also been shown to support heart health, gut health, and offer immune support (source).
Temperature: 70-80℉
Humidity: Room humidity is just fine
Sunlight: Best in a dark room with limited light
Temperature: 75-85℉
Humidity: 85-95% RH
Fresh Air Exchange (FAE): High
Sunlight: 12 hours/day indirect
Grain Colonization: About a week
Substrate Colonization: Up to 10 days
Harvest After Initiation Fruiting Conditions: About a week
These numbers are based on a 5 lbs substrate bag or master’s mix. Straw bags will yield slightly less. You can expect about 2 pounds from your first flush. If you get a 2nd flush, you can expect about 0.5-1 lbs.
Sterilizing your materials and workspace is absolutely essential when learning how to grow pink oyster mushrooms. Contamination is your biggest enemy and it will get you if you are not careful. First off, always wear nitrile gloves. When you can, work inside an SAB to reduce the risk of airborne contamination. Isopropyl alcohol will become your best friend in the fight against contamination. Use it to sterilize your gloved hands, work surfaces, and materials.
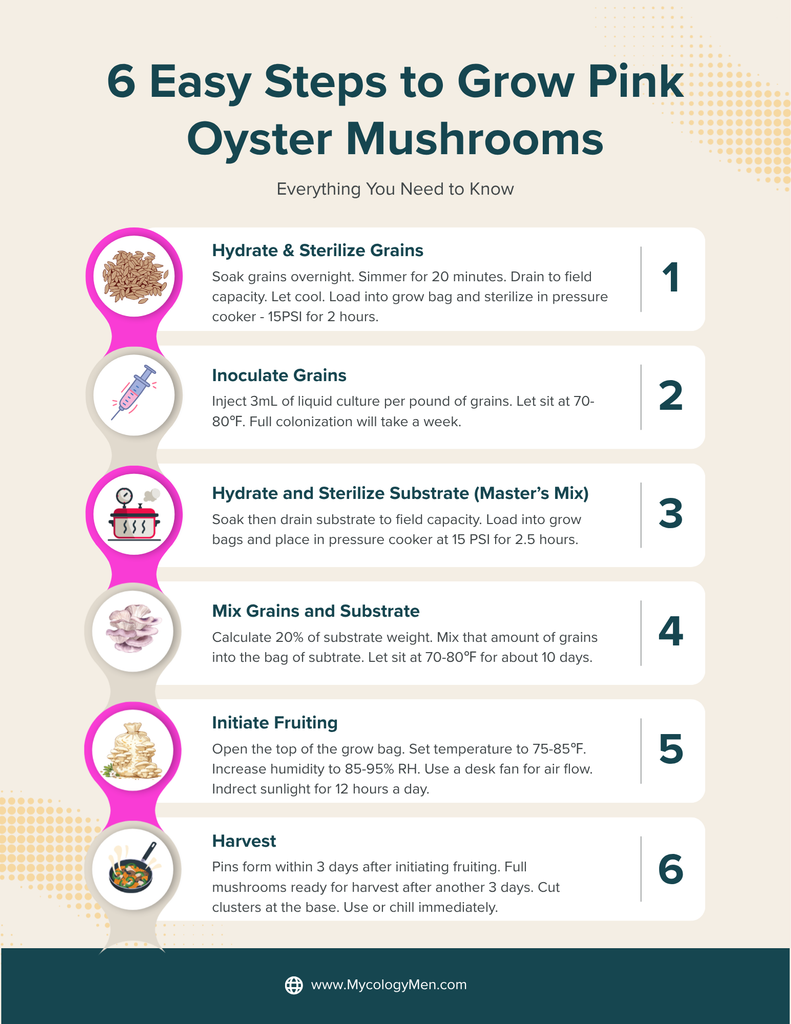
Begin by soaking your grains in a pot of water overnight. The grains need to be hydrated to support mycelial growth. After they have soaked overnight, bring the pot of water with the grains to a boil and simmer for 20 minutes. Small grow bags ideally have about 60% moisture while larger bags can work closer to 40-50% moisture.
Once you have finished simmering the grains, you can test the moisture level by squeezing a kernel of grain between your fingers. It should be easily squished without turning to mush. Alternatively, you can slice a kernel in half to check for any dry interior segments.
Drain the grains in a colander then lay them flat on a clean surface to cool to room temperature. NEVER use hot grains or you are just asking for contamination. If your grains are mushy, they are overhydrated and you should just start over.
Load the cooled grains into a grow bag (about ⅔ full). Seal the bag with your heat sealer then place the sealed bag into a pressure cooker to sterilize. Set the pressure cooker to 15 PSI for about 90-120 minutes. Allow the sterilized grow bag to cool to room temperature before moving on.
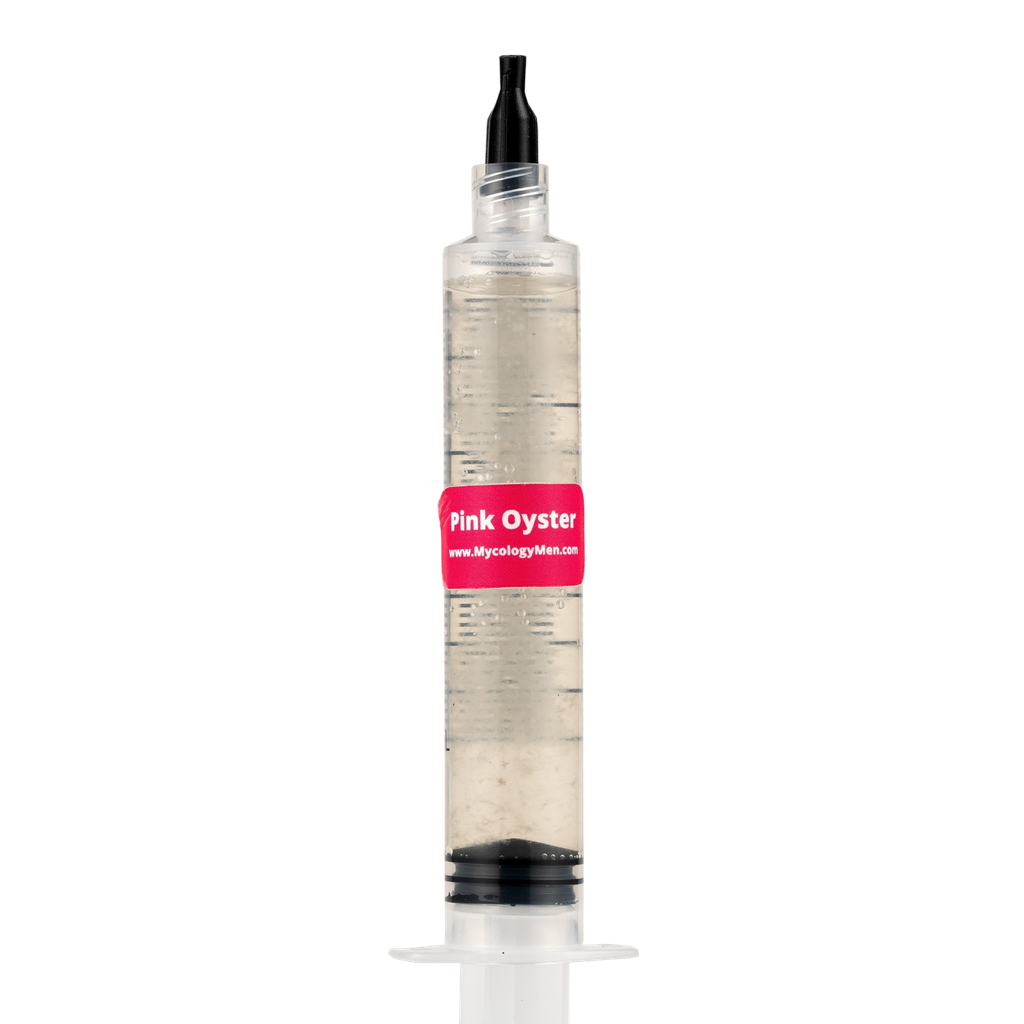
Grab your pink oyster liquid culture syringe and attach the accompanying needle. Insert the needle into the injection port of the grain bag then plunge about 3mL of liquid culture for every pound of grains. Carefully remove the needle from the syringe and place the cap back on before disposing of it.
Give the grain bag a gentle massage to evenly spread out the mycelium inside. Set the grow bag in a dark area with a temperature of about 70-80℉ and let the mycelium do its work! Once the grain bag has reached about 30% colonization, give it another gentle massage to spread out the mycelium growth. Full colonization can take about a week.
Straw allows you to grow quickly and is pretty forgiving with mistakes so it is great for beginners. Sawdust gives you a better quality mushroom than straw. Master’s mix is the industry standard and will give you the highest yield.
Chop the straw into 2 inch pieces and simmer in a pot of water at about 165℉ (this is called pasteurizing). Drain the water until the straw is at field capacity.
Let the straw cool to room temperature then load it into a fresh grow bag about ⅔ full. Now, you can move on to the next step: Mix Grain Spawn into Substrate.
Soak the substrate to about 60% moisture. You can test this by squeezing a handful and checking how much water comes out. You are aiming for a level of moisture where only a few drops of water come out when you squeeze it.
Load your substrate into a fresh grow bag about ⅔ full so there is room to add the colonized grain spawn later on. Seal the opening with your heat sealer. Place the sealed grow bag into a pressure cooker and sterilize at 15 PSI for about 2.5 hours (based on a 5 lbs grow bag). Let the bag cool to room temperature before moving on.
If you used sawdust or master’s mix, carefully open the top of the grow bag with a clean pair of scissors then proceed. If you used straw, you can skip that step as your bag should already be open.
Carefully open the colonized grain spawn bag with a clean pair of scissors (sterilize the scissors before this if you just used them to open the substrate bag).
Calculate about 20% of the substrate weight and add that much colonized grain spawn into the substrate bag. For example, if your substrate bag is 5 lbs, you need 1 lbs of grains. Massage the mixed bag to evenly distribute the grains through the substrate, Use your heat sealer to close the bag opening.
Place the sealed and mixed bags on a shelf in a dark room at about 70-80℉. Normal room humidity will do just fine for this phase. Full colonization can take up to 10 days. You will know it is ready when the bag is a solid pink-white color.
Move the grow bag to your fruiting chamber or adjust the environment in the room. You are aiming for about 75-80℉ and 85-95% RH. Use a clean pair of scissors to open the top of the grow bag. Use the desk fan to let fresh air flow over the open grow bag. Do not make hurricane speeds, but it should be consistent. Let the bag sit in indirect sunlight for 12 hours a day.
You should see pins beginning to form within 4 days, sometimes earlier. Maintain high levels of FAE and humidity to keep the mushrooms growing as expected.
Full-grown mushrooms should be ready to harvest about 3 days after pinning begins. The mushrooms should be bright pink or salmon pink. Immediately harvest at this point because pink oyster mushrooms do not have a long shelf life. Use a clean knife to cut the clusters at the base. Handle them super gently. It is best to cook with them immediately due to their extremely short self-life.
You may not get a 2nd flush from pink oyster mushrooms, and if you do it will be pretty weak. But, if you want to try, let the grow bag rest for a few days before doing all the fruiting steps again.
The temperatures are probably too low. Make sure you maintain 75-85℉.
The humidity is too high or the FAE is too low or both. Increasing air flow should help the situation.
This could be due to any number of reasons including genetics or substrate choice (straw yields lower).
Pink oyster mushrooms degrade quickly no matter what. They are very delicate. If you are not using them immediately after harvest, make sure to store them in the fridge right away, Even then, they need to be used within a day or two.
Pink oyster mushrooms are ideal for sautes, stir-frys, or simply as toppings to give your dish a burst of color. They need to be used within 2 days after harvest or they will degrade and become unusable. They cook very quickly and will have a lightly chewy texture.