White enoki mushrooms are certainly a weird strain - but in a really great way! Unlike many other mushrooms, white enoki mushrooms thrive in colder temperatures. They are most easily identified by their long, thin stems. In fact, the stems are so long and thin, they need a collar to help them grow. As you may have guessed from the name, they are an all-white mushroom.
The long, thin stems of white enoki mushrooms are almost noodle-like in texture. They can even be a bit crunchy which is a fun textural difference from many other mushroom strains. White enoki mushrooms cook pretty quickly, within 1-3 minutes.
It is common to find this mushroom strain in soups and broths like ramen or hot pots. They provide a crisp texture in a warm bowl of soup. Simply drop them into the soup about a minute or two before finishing cooking.
White enoki mushrooms are also great in a stir fry. They can be quickly sauted with flavors to compliment, such as garlic, soy sauce, and sesame oil.
If you want a cold dish, white enoki can still work for you. Blanche the mushrooms very quickly then eat them in a salad with complimentary flavors like vinegar and soy.
NEVER EAT WHITE ENOKI MUSHROOMS RAW. Always cook them to avoid Listeria risk.
White enoki mushrooms are rich in antioxidants, offer immune support, and heart health. The great flavor of white enoki mushrooms is a great benefit to the already nutritious fungi. A 100g serving of white enoki mushrooms only contains 37 calories. (source)
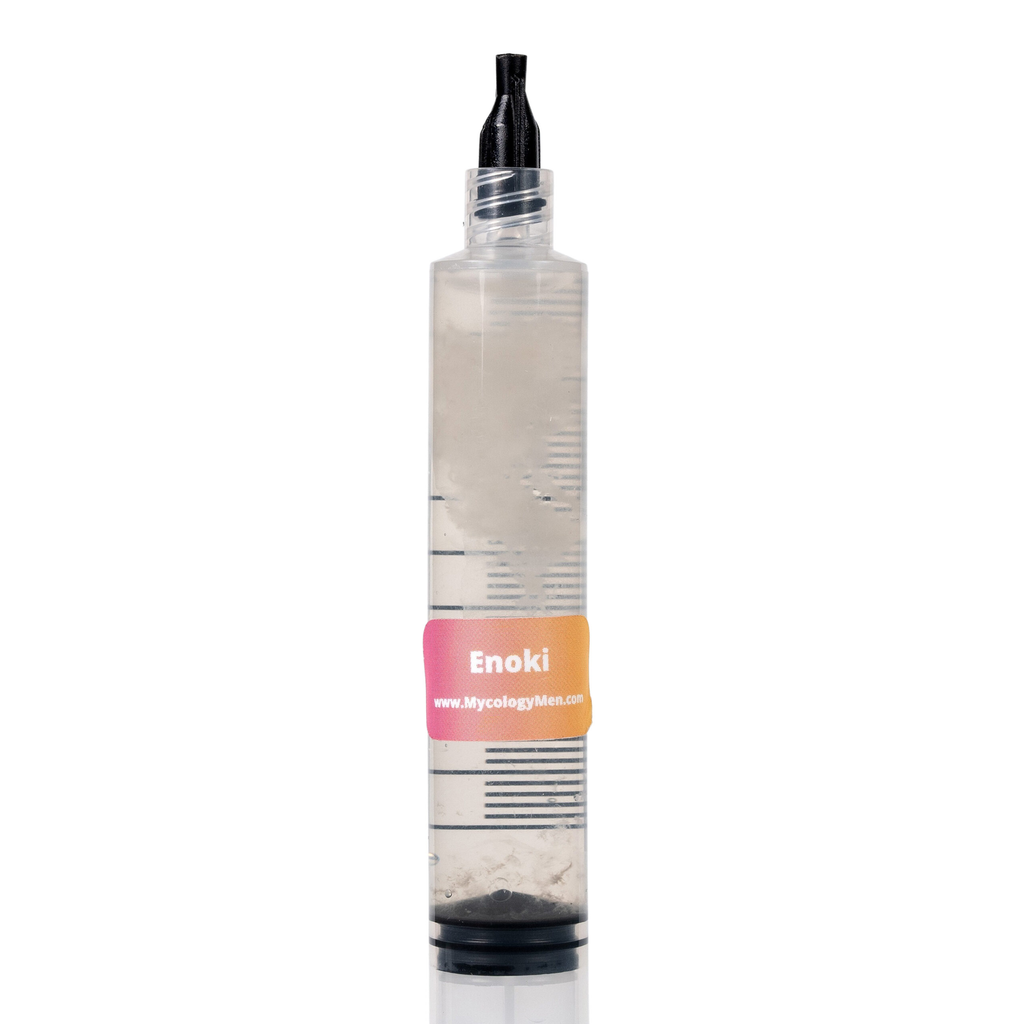
White Enoki Liquid Culture by Mycology Men
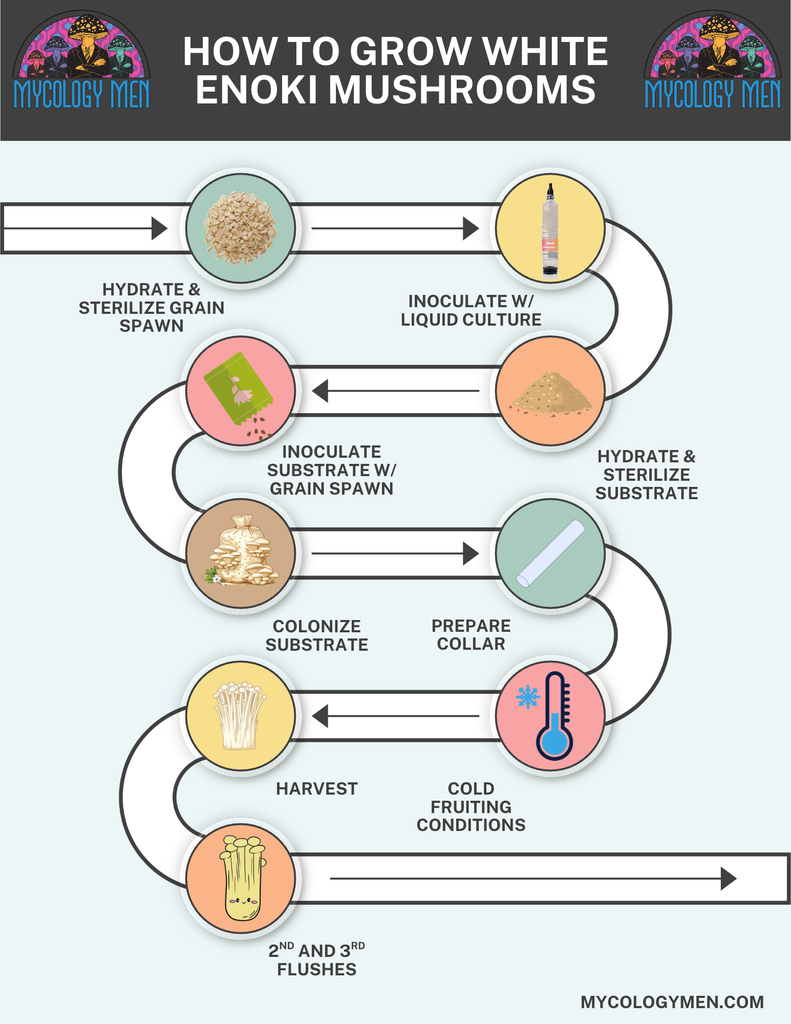
Place your grains in a pot and cover with cold water. Let this soak overnight or about 12-24 hours. The next day, bring the pot to a simmer for 10 minutes. The grain kernels should now be fully hydrated. You can tell they are properly hydrated if they are plump, but not splitting.
Drain the water from the grains and spread the grains on a clean surface to let them cool to room temperature.
Now, you have to sterilize the grains. This step is incredibly important to avoid contamination down the line. Fill a mushroom grow bag about ⅔ full and seal it with a heat sealer. Place the sealed bag into your pressure cooker. Follow the manufacturer’s instructions and pressure cook the sealed grow bag at 15 PSI for 2 hours.
LET THE BAG COOL COMPLETELY TO ROOM TEMPERATURE BEFORE MOVING ON.
If you are able, work inside a still air box. Use your isopropyl alcohol to sterilize all surfaces and even your gloved hands. Remember, contamination is the enemy. Grab your liquid culture syringe and carefully attach the needle to the end of the syringe. If you are not using a new needle, flame sterilize the needle before attaching it. Let it cool down for a minute before using it.
Insert the needle into the injection port of the grow bag. Inject about 3mL of liquid culture per pound of grains. Carefully remove the needle from the grow bag and detach it from the syringe to dispose of.
Give the now-injected grow bag a good shake and a massage to spread the mycelium out. Leave the grow bag sitting in a dark room with a temperature of about 68-75℉.
You will see white mycelium begin to form within a week. At about 30% colonization, you can give the grow bag another shake. Full colonization will take about 10-14 days.
Soak your hardwood sawdust substrate until it reaches field capacity hydration. This means you should be able to squeeze a bit between your fingers and only a couple drops come out. Fill a new mushroom grow bag about ⅔ full with your hydrated hardwood sawdust. Seal the bag with your heat sealer.
Now, place the sealed bag into a pressure cooker and cook it at 15 PSI for 3 hours. Remove the now sterilized bag from the pressure cooker and let it cool to room temperature before moving on. Be patient here. Hot substrate invites bacteria growth.
Work inside a still airbox if you can. Definitely wear gloves and sterilize your hands and surfaces with isopropyl alcohol.
Now, we have to do a bit of math. Calculate 20% of the dry substrate weight. For example, if you had 5 pounds of dry substrate, 20% of that is 1 pound. This 1 pound (20%) is how much colonized grain you will mix into the substrate.
Carefully open both your colonized grain bag and the sterilized substrate bag. Mix in the 20% weight of colonized grain spawn into the substrate bag. (example - 5 pounds of substrate needs 1 pound of grain spawn). Gently massage the mixed bag to spread the colonized grain spawn throughout the substrate. Seal the bag with your heat sealer.
Keep the sealed bag in a dark room at a temperature of 64-72℉. The goal here is an entirely white block of substrate. You should see the mycelium beginning to spread within a week. Full colonization will take about 3-4 weeks. You will know it is fully colonized when the block is entirely white.
Use a sterilized spoon to smooth the top surface of the fully colonized grow bag. Use sterilized scissors to cut a small circle opening over the flat top surface. Aim for about 2-3 inch diameter.
Roll your stiff paper into a cylinder, this will be your collar. The collar should be just slightly wider than the hole you cut in the top of the grow bag (about 2.5-3.5 inches). Aim for a collar height of about 3-4 inches. You can tape the collar to the grow bag to keep it in place.
This creates a controlled fruiting environment that will force the stems to grow vertically long and thin with tiny white caps.
Move the collared grow bag to a colder environment - about 45-55℉. Raise the humidity in the room to 90-95% relative humidity. Expose the grow bag to 8-12 hours of indirect sunlight a day. You do NOT need much moving air (unlike other mushroom stains). Trapped CO2 will encourage long stems.
You should see pins begin to appear within 2 weeks. It could be as early as 1 week. Over the next 5-10 days, you will see the clusters begin to elongate. When the stems are long and packed in there tightly, and they have small rounded caps, you will know you are ready for harvest.
Gently remove the collar before harvesting. Use a sterile and shape knife to cut the cluster at the base. Avoid pulling or tearing as this can ruin your chances for a 2nd and 3rd harvest (flush).
Trim away the dirty base material and store in the refrigerator in a breathable bag. Use them within 3-5 days for the best crunchy texture.
After harvest, leave the grow bag in the same cool environment. Let the block rest there for a couple days. If your collar was damaged, make a new one. Place the collar in the same spot over the opening in the bag. You can typically get 2-3 more harvests from a well-made block.
This most likely means there is too much FAE (fresh air exchange). It can also mean the temperature is not cold enough. Lower the temperature and decrease FAE to combat this.
Double check your temperature is within the fruiting range of 45-55℉.
Contamination has taken over. Unfortunately there is no coming back from this and saving the block. Start over and focus on your sterile technique.
This usually means the substrate was too wet to begin with. Aim for field capacity. You can test by squeezing a bit of the substrate between your fingers. Only a few drops of water should come out.