How to grow chestnut mushrooms infographic by Mycology Men
Today, we are going to learn how to grow the crunchy, nutty, and beautiful chestnut mushroom. They may also be referred to as cinnamon caps due to the amber color of their caps. These firm-stemmed mushrooms grow in clusters and are considered an easy-intermediate difficulty to grow. Many choose to take on the challenge of growing chestnut mushrooms for their highly sought-after flavor profile, appetizing texture, and their high yield.
In this article we are going to teach you exactly how to grow chestnut mushrooms from liquid culture to harvest. We will discuss exactly what supplies you will need, the environmental conditions necessary, wellness benefits associated with chestnut mushrooms, and cooking with chestnut mushrooms. In addition, we will provide some useful tips for beginners and discuss some common issues you may face when learning how to grow chestnut mushrooms. The main course for this article will be the step-by-step guide which will tell you exactly how to grow chestnut mushrooms. Each step will be clearly laid out and cover everything you need to know from sterile techniques to timetables and more.
If that all sounds good, let’s take the next step. Keep on reading to discover how achievable it really is to learn how to grow chestnut mushrooms.
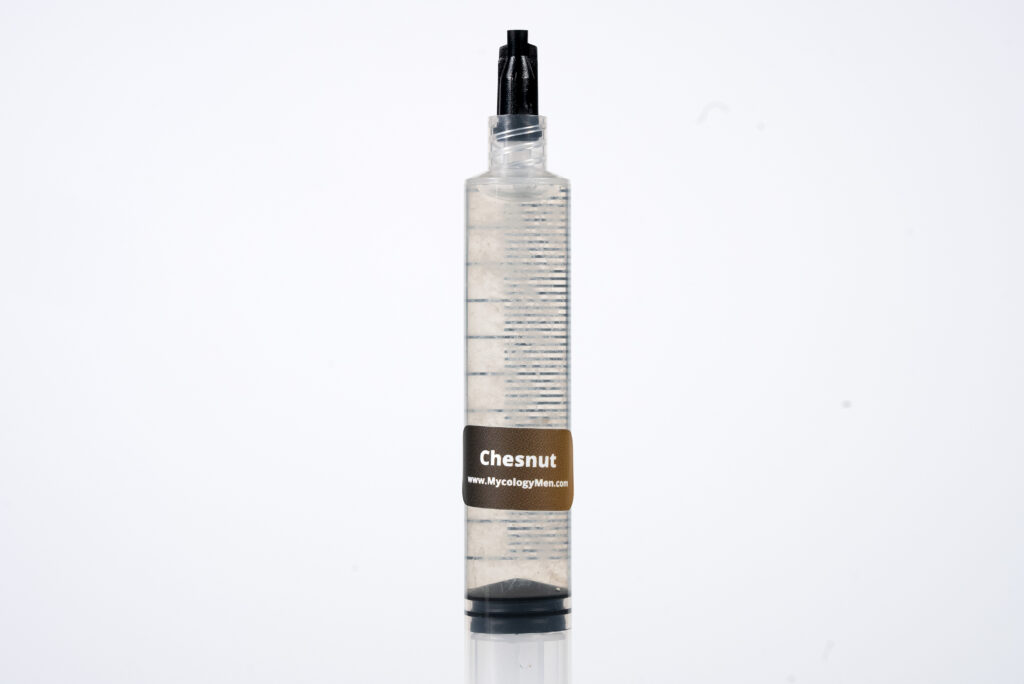
Chestnut mushroom liquid culture by Mycology Men
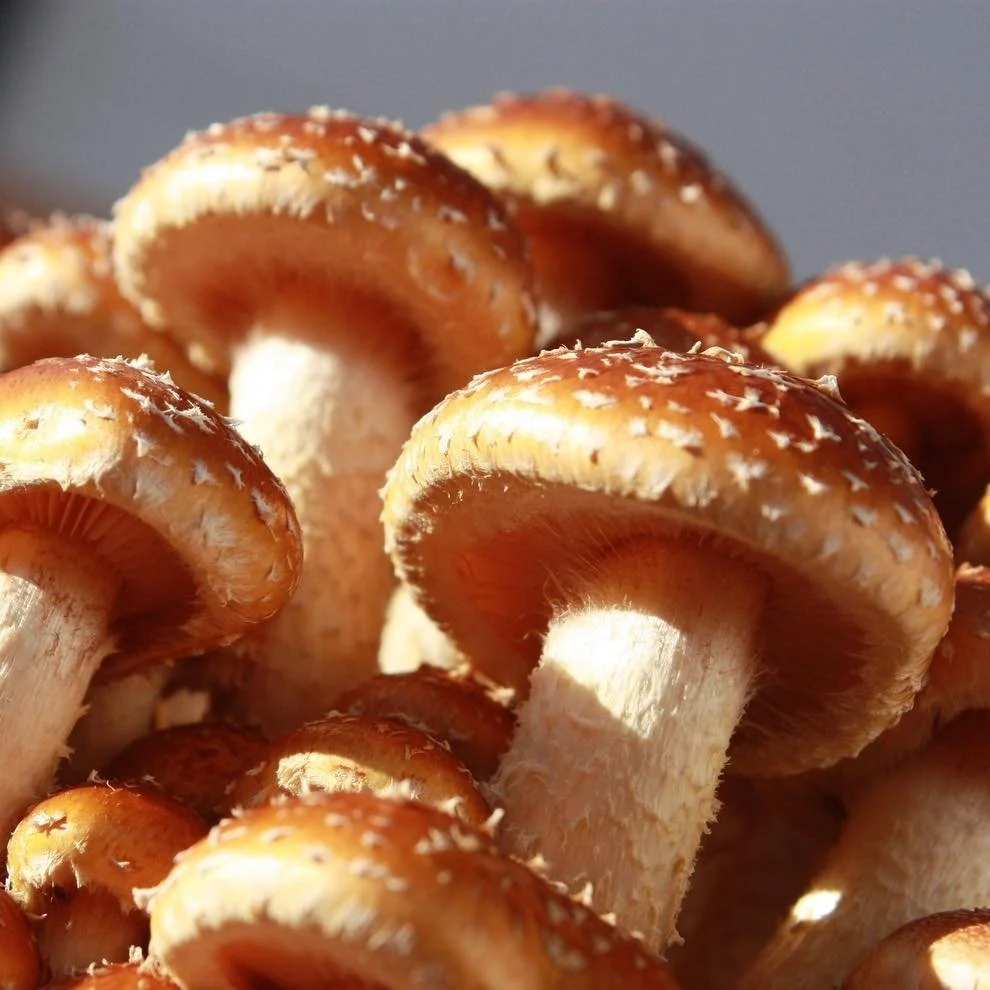
Utilizing sterile techniques is of the utmost importance when learning how to grow chestnut mushrooms (or any mushrooms for that matter). Mycelium is going into battle to fight over nutrients and resources necessary for their growth. If you are not careful, mycelium will lose that battle to bacteria or mold.
There are some simple steps you can take to help minimize your risk of contamination. First off, nitrile gloves are a must. Keep those dirty hands away from your set up (even if your hands are clean, gloves are still the best option. As an added step, it is best to spray or wipe your gloves with 70% isopropyl alcohol to kill off any contaminants. While you’re at it, use the alcohol to sanitize all of your work surfaces and tools. Wipe down the table you are working at. Wipe the injection port of the grow bag before you inject the liquid culture. Wipe down any scissors you may use.
It is also best practice to do your work inside of a still air box (SAB). SABs can decrease your exposure to airborne contaminants. They are pretty easy to make if you do not feel like spending the money to buy one.
Just remember, contamination is your greatest threat to a successful grow. So, when in doubt, sterilize!
Chestnut mushrooms colonize best in warmer conditions - about 70-80℉. Ambient room humidity is fine for colonization steps as the humidity inside the grow bag is sealed in. Finally, the room should be kept dark as sunlight will not help you during colonization.
The environmental conditions change when you switch from colonization to fruiting. This is an important distinction when you learn how to grow chestnut mushrooms. The temperature should drop to about 50-65℉. You’ll want about 90-95% humidity to start pinning. Drop the humidity down to 85-90% RH to fully fruit after pinning. Fresh air exchange (FAE) is important for fruiting chestnut mushrooms. Gentle consistent air will help you avoid CO2 build up which can cause long thin stems and small caps. Indirect sunlight is recommended throughout fruiting.
| Stage | Temperature | Humidity | Light | Airflow |
| Grain Colonization | 70-80℉ | N/A | Dark | Low |
| Substrate Colonization | 70-80℉ | N/A | Dark | Low |
| Pinning | 50-65℉ | 90-95% RH | Indirect | Gentle FAE |
| Fruiting | 50-65℉ | 85-95% RH | Indirect | Moderate FAE |
Pour your grains into a large pot and fill it with water. Let this soak overnight. After soaking, simmer the grains for 10 minutes. The grains should be full and plump, but not bursting. Drain and strain the grains with a colander then lay them out flat to dry for a bit. They should be moist, but not soaking wet. This is called field capacity. Grab a mushroom grow bag with a filter patch and an injection port. Fill the bag about ⅔ full with your hydrated grains. Seal the bag shut with your heat sealer.
Place the sealed grain bag into a pressure cooker. Follow the manufacturer's instructions to sterilize the bag at 15 PSI for about 90-120 minutes. Allow the bag to cool COMPLETELY before proceeding to the next step.
First things first, sterilize all your tools and your workspace. Injecting the grains with liquid culture is a risky step when it comes to contamination. Shake the LC syringe to evenly distribute the mycelium inside. Attach the needle to the syringe (sterilize the needle with a flame if it is not new out of the packaging). Insert the needle into the grow bag’s injection port. Plunge the syringe to add about 3mL per pound of grains in the bag. Remove the needle from the bag and CAREFULLY remove the needle from the syringe. Spread the mycelium inside the bag by giving it a good shake.
Place the grain bag in a dark room with a temperature of about 65-80℉. After a few days you will see white patches beginning to form. At about 30% colonization, give the bag another good shake and gentle massage to spread out the mycelium. After about 2-3 weeks, the bag should be fully colonized. You will know it is fully colonized when the grains are fully white and there are no wet spots or discoloration.
Hydrate your substrate in a pot of water until it reaches field capacity. You can test for field capacity by squeezing some of the substrate between your fingers. A few drops should come out. Any moisture more or less than that can be problematic. Grab a fresh grow bag and fill it about ⅔ full with substrate. Seal the bag shut with your heat sealer.
Place the sealed bag with substrate into your pressure cooker. Sterilize at 15 PSI for 2-3 hours. Let the bag cool completely before moving forward. Using hot substrate just begs for contamination.
Calculate 20% of the weight of your substrate. This is how much colonized grains you are going to mix in. For example, 5 pounds of substrate needs 1 pound of colonized grains.
Use a sterilized pair of scissors to open the tops of the grain bag and the substrate bag. Break up the colonized grains and thoroughly mix the appropriate amount into your sterilized substrate bag. Seal the mixed bag with a heat sealer.
Place the mixed bag into a dark room at about 65-80℉. You will begin to see the white mycelium take over the bag. If you see different colors like green or black, or smell something foul, you may be dealing with contamination.
Full colonization can take anywhere from 1-3 weeks. You will know it is fully colonized when the bag is covered in white mycelium.
Use a sterilized pair of scissors to cut an X into the side of the bag, or cut the top off of the bag. Now it is time to change the environmental conditions. Raise the humidity to 85-95% RH and decrease the temperature to about 60℉. You should also use a small desk fan to introduce airflow (FAE). A gentle amount of FAE is good to start pinning. You should also expose the bag to about 12 hours of indirect sunlight each day.
After a few days, you should see tiny brown pins beginning to form in clusters. If the stems seem overly long, you probably need more airflow as CO2 is building up. Any cracking can be due to a low humidity level so increase the humidity.
Once you have some good pin clusters, increase the FAE with your desk fan. Keep the other environmental conditions the same. Once the mushroom clusters have fully formed, you can harvest them for your first flush. Use a sterile knife to cut the clusters at the base. Avoid pulling them out so you can get some more flushes.
Let the bag rest for a couple days then restart the pinning process. You may get another flush or two from the same bag. It should be noted that each subsequent flush will have a lower yield.
Store in a paper bag in the refrigerator. Label the bag with the strain and date harvested. They should be used within 5 days.
Chestnut mushrooms are a good source of B vitamins, low in calories, and even have a bit of protein. They carry a good bit of beta-glucans which are associated with immune support. Their fiber content makes them a good option for gut health. Overall, you may find more wellness-focused mushroom strains, but the chestnut mushroom is a great option for culinary use with a dash of wellness. source
The nutty and earthy flavor of chestnut mushrooms are a great addition to your diet. Texturally, they are firm and can even be a bit crunchy when sauteed. Together, the flavor and texture makes for a pretty satisfying bite.
They are best used in stir-fries, roasts, pastas, and broths. Toss them with a little salt, spice, and oil then roast them until the edges crisp up. You can also saute them with fresh herbs for a bright flavor. One of our favorite ways to enjoy chestnut mushrooms is the skewer them and cook them on the grill for a charred and smokey flavor.
This usually means your substrate was not sterilized properly. Unfortunately you will have to discard the affected substrate and start over. Pay extra close attention to your sterilization technique.
This could be due to a number of reasons. If your airflow is low, try increasing it. Double check the temperature is within the accepted range. Finally, make sure the substrate is fully colonized before you move to the pinning phase.
This is more than likely due to low FAE. Increase the airflow which will decrease CO2 buildup.
Check that the humidity is within the acceptable range. If it is, try to make sure any fans are not blowing directly onto the clusters or the substrate block itself.
The nutty flavor and firm texture of chestnut mushrooms make them quite desirable in the kitchen. Lucky for us, they are pretty easy to grow as well! As long as you follow proper sterile techniques, focus on cleanliness, and keep your environment within acceptable ranges (temperature, humidity, airflow, light), you should be harvesting chestnut mushrooms within a couple months. Thank you for taking the time to learn how to grow chestnut mushrooms. Best of luck!