Lion’s Mane mushrooms seem to be all the rage recently. And for good reason! Not only can they make a delicious addition to your diet, but they have a plethora of well-known wellness benefits. You can find lion’s mane in mushroom coffee, mushroom extracts, mushroom powder, and more. In this article we are going to take you along the entire process of how to grow lion’s mane mushrooms from start to finish. We start with liquid cultures, move into grains, followed by substrate, and finally harvest. After reading this article, you will have all the knowledge necessary to successfully grow lion’s mane mushrooms.
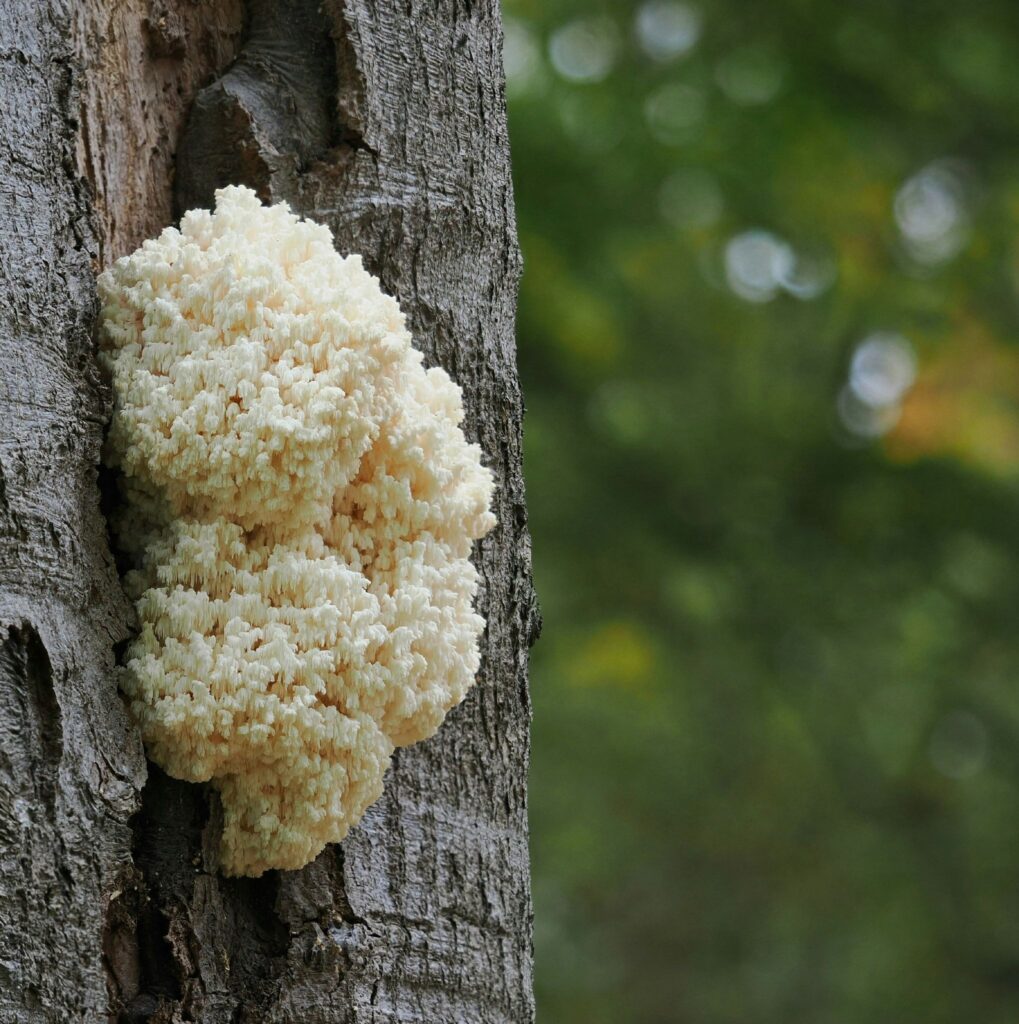
Photo by Gerrit Stam on Unsplash
Good for your Brain
Lion’s Mane mushrooms have been shown to decrease the risk of neurological diseases like Alzheimer’s. They can also boost your cognitive functioning. (source)
Immune Support
Lion's Mane mushrooms contain beta-glucans, which are compounds that have been shown to enhance immune function and help the body fight off infections and diseases. (source)
Digestion
Lion’s Mane mushrooms contain certain compounds that can help with gut health. (source)
Anti-inflammation
Lion’s Mane mushrooms might be most well known for their anti-inflammatory properties. This can help to ward off chronic diseases. (source)
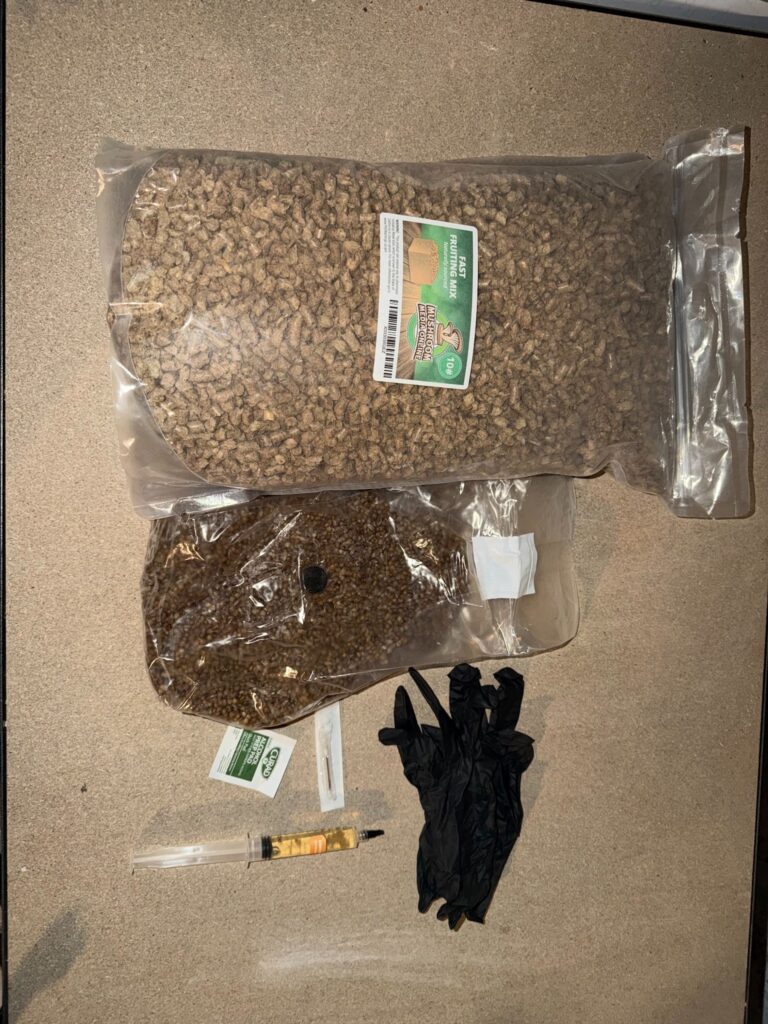
Liquid cultures are nutrient rich liquids that contain live mycelium held in a syringe. This is basically the starter pack for your grow. You can think of it as the “seeds” of the mushroom. Although, to be clear, they are definitely not seeds, but they are what you will start to grow your mushrooms with. You can easily find reputable retailers for mushroom liquid cultures for sale online. Store your liquid culture in a cool, dark place.
Gypsum is a soft mineral that, when added to your grains, can help decrease clumping and provide a nutrient boost that can benefit your mushroom growing process. Use the gypsum calculator below to figure out how much gypsum to add to your grains.
Mix the gypsum and water then add your gypsum-water to your grains inside the mushroom grow bag. Try to evenly distribute the gypsum-water when adding it to the grains.
Now it is time to sterilize your grains. This is an incredibly important step to avoid contamination during your mushroom growth and it is essential when you are learning how to grow lion's mane. Mushrooms compete for resources with bacteria, so sterilizing your grains to kill off bacteria might be the most important step of this whole journey.
First off, use your heat sealer to close the top of the mushroom grow bag. It should already be filled with grains and gypsum-water before you seal it. Now, place the grow bag inside of your pressure cooker. Follow the pressure cooker’s instructions to sterilize your grains at 15psi for 1.5-2 hours. If you are using a larger bag (10 pounds and up), you may need to sterilize for longer than 2 hours to ensure the center of the grain bag reaches sterilization temperatures.
There are 3 main factors to consider when creating your grow environment: humidity, temperature, sterilization. As we mentioned above, bacteria is your biggest enemy when it comes to growing any type of mushroom. Bacteria will eat up the available resources and your mushrooms will not grow. Wherever you decide to grow should be cleaned with alcohol or disinfectant before you begin. It can also be helpful to avoid setting up near open windows under fans, or near any other sources of air movement.
Aside from creating a sterile environment, you also need to be able to control humidity and temperature. This can be accomplished with in-room humidifiers and portable heat sources such as radiators. For lion’s mane, you want to be able to maintain about 70-75℉ and 95-100% relative humidity.
To keep the moisture in the air around your grow, you can consider using what is known as a “grow tent”. This can be easily made using sheets of plastic set up as a small room around where your grow is taking place. It can be as small as 3x3 feet, just big enough to accommodate the bucket in which your lion’s mane mushrooms will be growing. The plastic sheets can be hung from the walls and ceiling or you can construct a grow box using PVC pipe and lining it with plastic sheets.
And finally, mushrooms thrive in the dark, so make sure there is not much sunlight hitting your grains. In fact, the less sunlight the better!
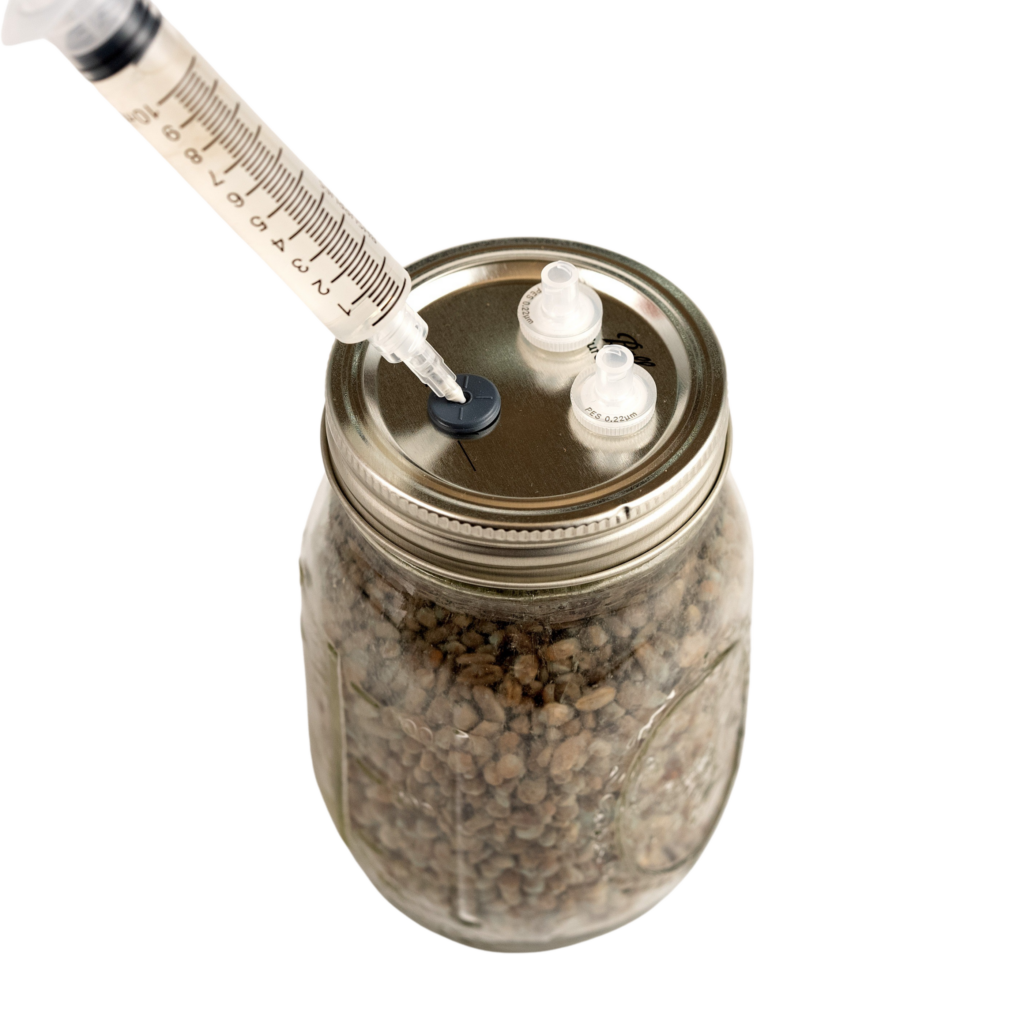
Ok, so now we have your liquid culture, a proper growing environment, and sterilized grains. Finally, it is time to get the grow started! First off, make sure to clean your work surface and wear nitrile gloves to reduce the risk of contamination. Use an alcohol wipe to clean the injection port of the grow bag.
Your liquid culture should have come with a needle for the syringe. Sterilize that needle with an open flame.
You may be wondering, “how much liquid culture should I use?”. Luckily, we have a pretty simple formula you can follow. You will need 3mL of liquid culture per pound of grain. For example, if you have a 5 pound grow bag, you will need 15mL of liquid culture.
Inject the liquid from the syringe using your grow bag’s injection port. If your grow bag does not have an injection port, simply inject the grains from the very top of the grow bag and cover the hole with tape. Give the grow bag a good shake after you have injected all that you need. This will help to evenly distribute the mycelium in the grains.
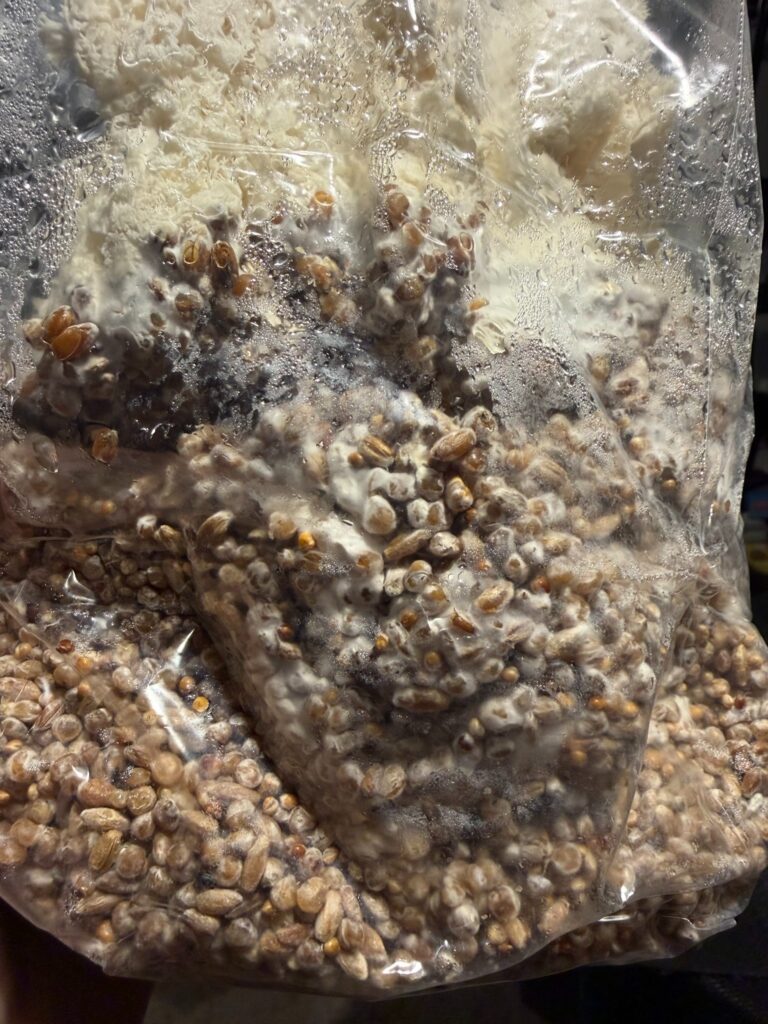
The mycelium will begin to colonize your grains over the next few days. Once your grains have reached about 30% colonization, give the bag yet another good shake. Wait until you have reached 80% colonization, then shake it up once more. When the grains are fully colonized, wait another week to make sure the mycelium growth has reached all the way to the inner parts of your grain bag. Patience is key when growing mushrooms!
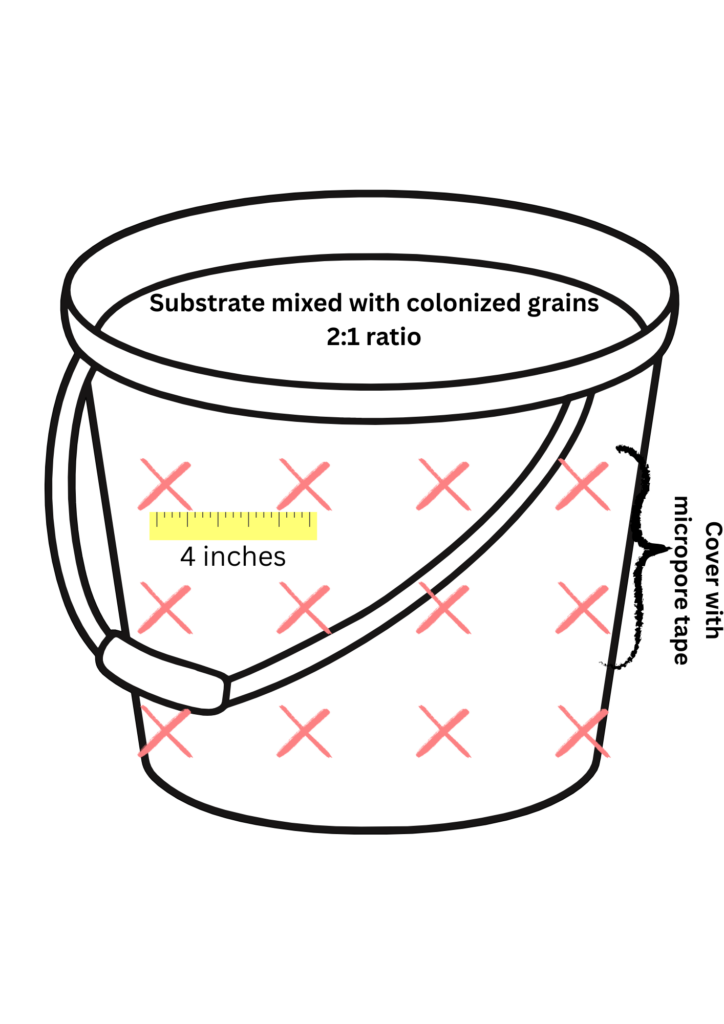
You are going to eventually transfer your grains to substrate and store all of that inside this bucket. First, there are a few quick things to do to optimize the bucket for mushroom growth. Number one is make sure your bucket has a tight fitting lid. This will seal in the required moisture. Next, you need some holes to let the substrate breath. Use your drill and ¼ inch circular drill bit to drill holes 4 inches apart along the top, middle and bottom of the bucket’s sides. The top holes should be a few inches from the very top of the bucket and the bottom holes should be a few inches from the bottom of the bucket. Use micropore tape to cover the top and middle holes. The bottom holes should be left uncovered to allow excess moisture to flow out.
Once your bucket is set up, give it a really good cleaning. And we mean REALLY GOOD. I know we keep saying it, but bacteria is your enemy! You have to sterilize your bucket. Clean it with alcohol wipes.
We’ve said it before and we will say it again, bacteria is your enemy and sterilization is of the utmost importance! Sterilize your substrate inside a pressure cooker at 15psi for 2.5 hours. Follow your pressure cooker’s instructions for proper usage.
As for how much substrate you need, the general rule is that for every pound of grains, you need 2 pounds of substrate.
We’re on the home stretch! So, let’s recap: you have colonized grains, you have a bucket with holes and a lid, you have a sterile growing environment, you can control humidity, and you can control temperature. Now we are going to mix the grains with the substrate and transfer to the bucket.
To begin, give that bucket a final wipe down with alcohol to ensure it is sterile. Let it air dry before proceeding.
Next, mix the colonized grains and the substrate with a 1:2 ratio. For every pound of grains, mix it with 2 pounds of substrate. As an example, if you have a 3 pound grain bag, you will need 6 pounds of substrate.
Try to evenly mix the grains into the substrate so that the mycelium will grow throughout the whole mixture. Break up any grain clumps before mixing into the substrate.
Seal the bucket with your lid and leave it sitting in your grow environment while it does its magic! Remember to maintain about 70-75℉ and 95-100% relative humidity. You can spray the substrate with a mister to keep the moisture levels up. It should NOT be dripping wet.
After you practice a bit of patience and let the substrate fully colonize, you can proceed to induce fruiting. It should be noted that full colonization can take a few weeks. Two main components induce fruiting: indirect sunlight, airflow, and humidity.
Make sure to keep the humidity level in the 90s. You can spray the bucket holes with a mist to keep the substrate moist. Remove the micropore tape from the bucket holes to introduce airflow. Open the shades or draw the curtains or do whatever else you need to so that the bucket is now exposed to indirect sunlight. After about a week in this state, you will see mushroom “pins” start to appear. Another week and you should have full lion’s mane mushrooms. How exciting!
Simply grab the mushroom and twist it loose to harvest the cluster. Either that or you can use a sharp knife to cut it at the base. In either case, you now have lion’s mane mushrooms that are ready for use! But wait…there’s more….
This may be the best part about growing mushrooms: you can harvest 2-3 times with minimal extra effort! After you have harvested your mushrooms, rehydrate the substrate by heavily (and we mean heavily) misting it for 2 days. Allow the excess water to drain through the bottom bucket holes. Make sure it is not too wet or you may run into bacterial issues. Now, repeat the steps listed in the Induce Fruiting section et voila!